×
- Hello
- Login or Register
- Quick Links
- Live Chat
- Track Order
- Parts Availability
- RMA
- Help Center
- Contact Us
- Shop for
- Mazda Parts

My Garage
My Account
Cart
Genuine Mazda Tribute Exterior Door Handle
Outside Door Handle- Select Vehicle by Model
- Select Vehicle by VIN
Select Vehicle by Model
orMake
Model
Year
Select Vehicle by VIN
For the most accurate results, select vehicle by your VIN (Vehicle Identification Number).
3 Exterior Door Handles found
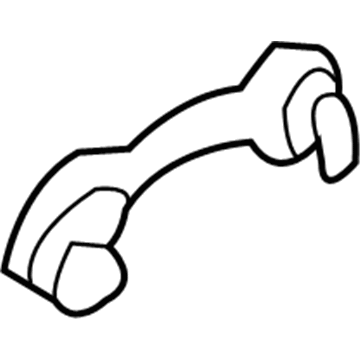
Mazda Tribute Handle, Outside Part Number: ZZCA-58-413A-70
$18.38 MSRP: $24.51You Save: $6.13 (26%)Mazda Tribute Handle, Outside Part Number: ZZCA-58-413A-AA
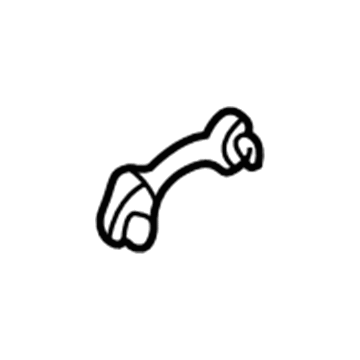
Mazda Tribute Handle, Outside Part Number: EC02-58-413H-AA
Mazda Tribute Exterior Door Handle
Looking for Exterior Door Handle with proven quality? Choose OEM Exterior Door Handle. Mazda designs and builds them to strict factory specs. Every piece goes through rigorous quality checks. You'll get parts that fit right and work like new. Shop our huge inventory of OEM Mazda Tribute parts. Enjoy the highly competitive prices online. Our site is your one-stop shop. Each genuine Tribute part includes a manufacturer's warranty. Buy with confidence. Our return policy is simple and hassle-free. In a rush? Choose expedited delivery at checkout. You'll love the streamlined experience from search to checkout to receiving your order.
Mazda Tribute Exterior Door Handle Parts and Q&A
- Q:What precautions should be taken when working with Door Latch Assembly and how do you remove the Door Lock Cylinder,Exterior Door Handle,Interior Door Handle and latch assembly on Mazda Tribute?A:Wearing gloves, When one works within the door openings, it is important to wear gloves to prevent being cut by the sharp edges of metal. Uncouple the cable with the negative battery terminal. On models up to 2007, to access the door trim panel and watershield, lift the window, then unscrew the door trim panel and watershield being careful not to scratch the paint on the outside of the door by putting a wide masking tape about the handle opening. Internally, loosen the screw that fixes the door latch assembly and remove the door handle cover on the outside and slide the door handle towards the rear of the vehicle, scraping off the rubber insulators. With the door panel inside, unscrew and unscrew the remote control assembly, and unhook the clip and push the interior door handle to the side. Disassemble the door latch screws (be sure to re-install the screws during reassembly), disconnect the door latch electrical connector, slide the door latch remote control assembly towards the front, take out the anti-theft guard of the latch assembly and disconnect the exterior door handle actuating rod. In case of rear handles, repeat the procedure of raising the window, doing away with the door trim panel and watershield, and loosening of the electrical connector on the rear door latch. Take the door glass top run out of the door, remove the bolts holding it, and remove the door handle screws out of the inside door panel, being careful not to scratch the paint. Installation Take the cover off the exterior of the door, slide the door handle all the way to the back, loosen the remote control assembly, unhook the door handle actuating rod and screw out the door latch screws but not to reuse them. Unscrew the interior door handle cable and take out the rear door handle. To take out the door trim panel and watershield, and the screw in the handle reinforcement plate, then pull on the exterior handle, rotate the rear handle cover and slide the handle to the rear to lift it out. In the case of the front door latch, unscrew the front door handle, the reinforcement plate screw, unscrew the cable attached to the inside door handle, unscrew the clip and then remove the latch screws and disassemble them. Unscrew the wiring attached to the latch and disconnect it and install new screws in their place. In the case of the lock cylinder, take the front door latch, theft guard plate, unplug the exterior door rod, unplug the lock cylinder rod, and unscrew the clips to the retaining plates to remove the lock cylinder, and to install it, the steps are performed in the reverse order. With years 2013 and onward, open the door, remove the access cover, remove the door lock cylinder and handle retaining screw. Draw the lock cylinder and cover straight out, out of the door, pushing out the electrical connector of the door handle that may be attached, then slide the door handle back and out of the door. In the Front door latch, remove the door trim panel and Window Regulator assembly, screw and rubber gaskets outside door handle reinforcement bracket, latch mounting bolts and retaining clip. To remove the electrical connector(s) of a latch, unscrew the wiring harness connector, installers just have to push the grommet and cable through the door, unscrew the front door latch mount and bracket assembly, and disconnect the required cables, with the installation process being the opposite.
Related Mazda Tribute Parts
 Mazda Tribute Door Check
 Mazda Tribute Door Hinge
 Mazda Tribute Door Latch Assembly
 Mazda Tribute Door Latch Cable
 Mazda Tribute Door Lock
 Mazda Tribute Door Lock Cylinder
 Mazda Tribute Front Door Striker
 Mazda Tribute Interior Door Handle
 Mazda Tribute Rear Passenger Door Handle Latch
 Mazda Tribute Weather Strip
 Mazda Tribute Window Crank Handle
 Mazda Tribute Window Run
Browse by Year
2011 Exterior Door Handle
2010 Exterior Door Handle
2009 Exterior Door Handle
2008 Exterior Door Handle
2006 Exterior Door Handle
2005 Exterior Door Handle
2004 Exterior Door Handle
2003 Exterior Door Handle
2002 Exterior Door Handle
2001 Exterior Door Handle