×
- Hello
- Login or Register
- Quick Links
- Live Chat
- Track Order
- Parts Availability
- RMA
- Help Center
- Contact Us
- Shop for
- Mazda Parts

My Garage
My Account
Cart
Genuine Mazda Tribute Tailgate Lock
Rear Tailgate Lock- Select Vehicle by Model
- Select Vehicle by VIN
Select Vehicle by Model
orMake
Model
Year
Select Vehicle by VIN
For the most accurate results, select vehicle by your VIN (Vehicle Identification Number).
4 Tailgate Locks found
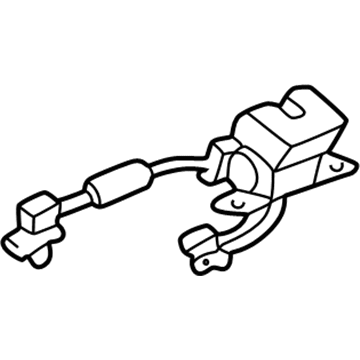
Mazda Tribute Latch Part Number: EF91-62-3A0
$102.79 MSRP: $137.07You Save: $34.28 (26%)Ships in 1-2 Business Days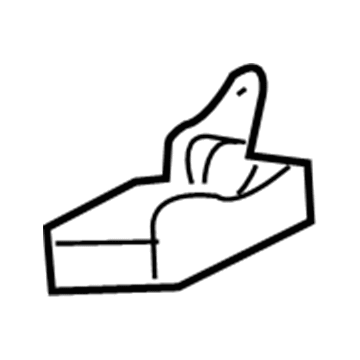
Mazda Tribute Lock Part Number: ZZDA-62-310A
$148.83 MSRP: $198.48You Save: $49.65 (26%)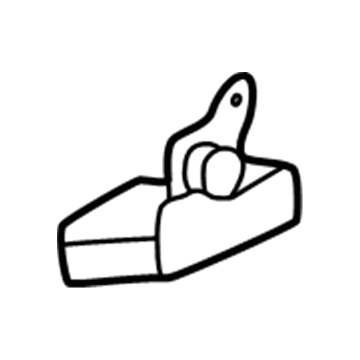
Mazda Tribute Lock Part Number: EF91-62-310C
$152.88 MSRP: $203.87You Save: $50.99 (26%)Ships in 1-2 Business Days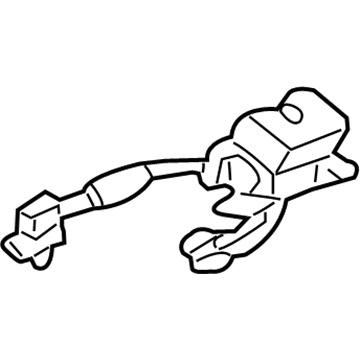
Mazda Tribute Lock Part Number: ZZCA-62-3A0
Mazda Tribute Tailgate Lock
Looking for Tailgate Lock with proven quality? Choose OEM Tailgate Lock. Mazda designs and builds them to strict factory specs. Every piece goes through rigorous quality checks. You'll get parts that fit right and work like new. Shop our huge inventory of OEM Mazda Tribute parts. Enjoy the highly competitive prices online. Our site is your one-stop shop. Each genuine Tribute part includes a manufacturer's warranty. Buy with confidence. Our return policy is simple and hassle-free. In a rush? Choose expedited delivery at checkout. You'll love the streamlined experience from search to checkout to receiving your order.
Mazda Tribute Tailgate Lock Parts and Q&A
- Q:What steps should be taken before replacing a door lock and Tailgate Lock on Mazda Tribute?A:Checking of the trouble code associated with the liftgate system before any component configuration is done to ensure the concern has been properly investigated by diagnosing the trouble code before making the decision to repair it or replace it. The liftgate is now designed to have an anti-pinch system, passive entry and hands-free activation, and linked with the light system and anti-theft system in the interior which has made the electrons more complex. To release the locking tab, 2012 and older models On 2012 and older models, open the liftgate, remove the trim panel and watershield, and use needle-nose pliers to disconnect the actuating rods to the liftgate latch remote control, then remove the electrical connectors and the screws holding the remote control together and pull out the assembly. To remove the liftgate window latch, open liftgate and remove door trim panel, remove window ajar switch and mark the position of the latch to match the position before loosening the mounting bolts. In the case of the liftgate latch, the window ajar switch will be disconnected, the mounting bolts will be removed, and the latch will then be removed. On 2008 and subsequent models, the liftgate trim panel should be removed, the electrical connector in the liftgate switch should be unplugged, the trim panel mounting bolts should be removed and then the outside trim panel should be pried off. Lift the switch out by use of the switch tabs, and make sure that it is properly aligned when installing. On 2013 and later models, disconnect the wiring of the liftgate latch, remove the mounting bolts, and remove the latch, and the installation is the opposite of the removal.
Related Mazda Tribute Parts
 Mazda Tribute Door Hinge
 Mazda Tribute Door Latch Assembly
 Mazda Tribute Door Lock Cylinder
 Mazda Tribute Door Screws
 Mazda Tribute Liftgate Hinge
 Mazda Tribute Liftgate Lift Support
 Mazda Tribute Liftgate Lock Actuator
 Mazda Tribute Liftgates
 Mazda Tribute Tailgate Handle
 Mazda Tribute Trunk Lid Latch
 Mazda Tribute Trunk Lock Cylinder
 Mazda Tribute Weather Strip