×
- Hello
- Login or Register
- Quick Links
- Live Chat
- Track Order
- Parts Availability
- RMA
- Help Center
- Contact Us
- Shop for
- Mazda Parts

My Garage
My Account
Cart
Radiator & Components
1988 Mazda RX-7 Radiator Hose, Coolant Pipe, Coolant Reservoir Hose, Water Hose
Currently shopping for
1988 Mazda RX-7
Change VehicleVehicle Options
2 Cyl 1.3 L GASVehicle Options
2 Cyl 1.3 L GASCategories Close X
Currently selected
Other Categories
A/C & Heating
Air & Fuel Delivery
Body & Hardware
Brakes
Charging & Starting
Driveline & Axles
Electrical
Emission Control & Exhaust
Engine
Headlights & Lighting
Interior & Exterior Trim
Maintenance & Lubrication
Steering
Suspension
Transmission
Categories Close X
How to use OE catalog
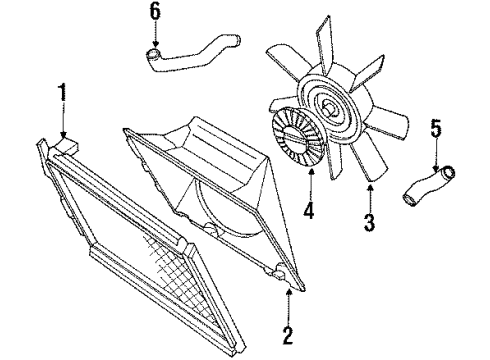
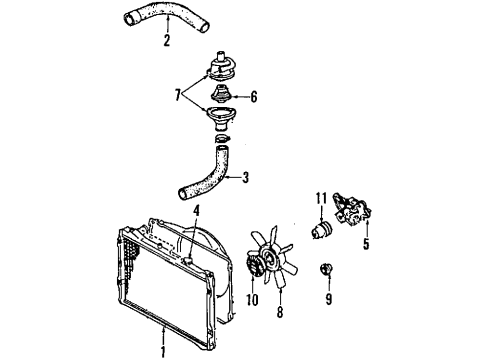
2 diagrams found for the vehicle you selected.Select your vehicle options to narrow down results.
- 1.Cooling - Radiator
- 2.Cooling System - Radiator
Sort by:
Ref No.
Ref No.
Part No. & Part Description
Price & Qty.
Part No. &
Part Description
Part Description
- 1
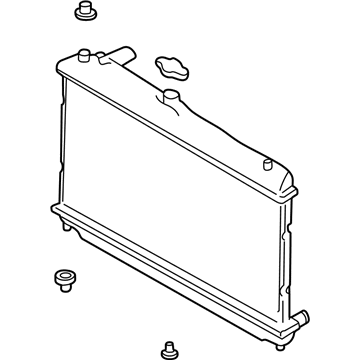 N326-15-200D
Radiator- Part Notes: RX7; Manual Transmission;With Turbo;Without Turbo, Manual Transmission
- 2
- 2
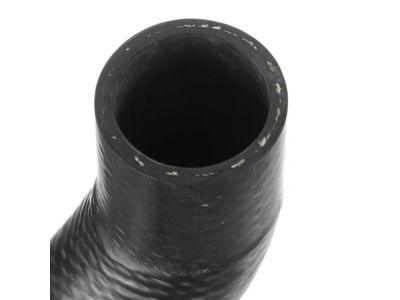
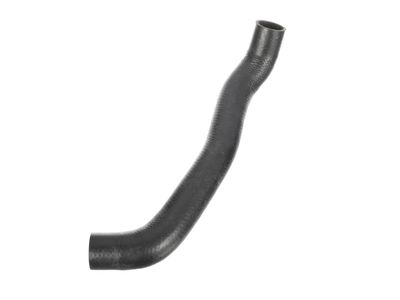
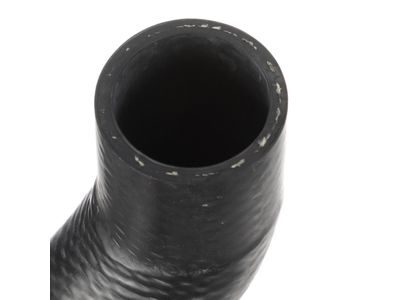
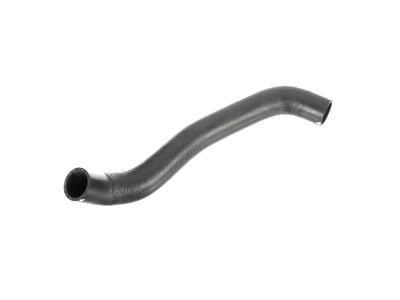
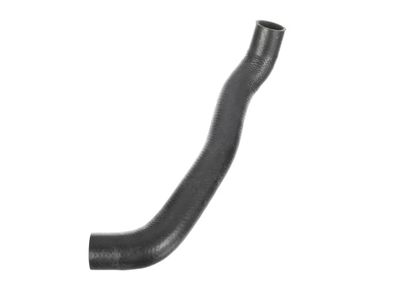
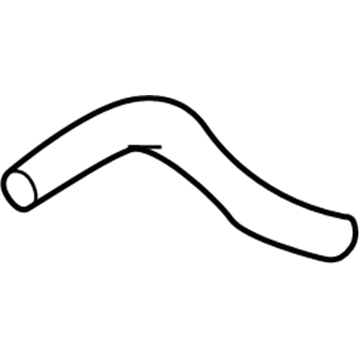 $17.86 $13.391
- 3
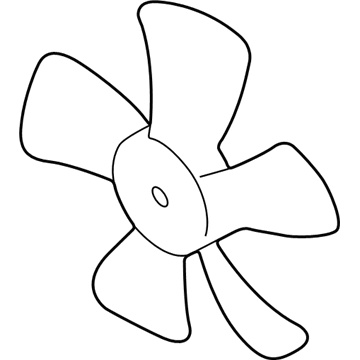
- 3
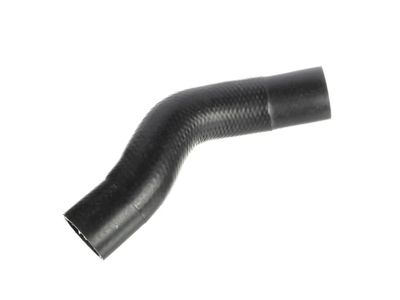
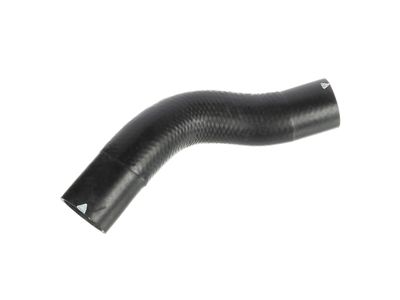
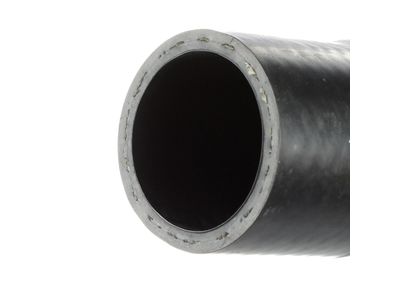
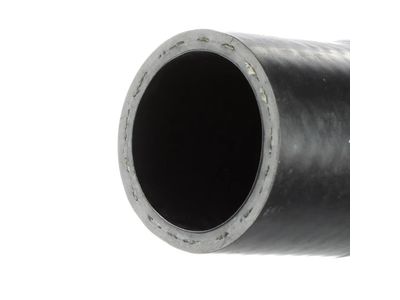
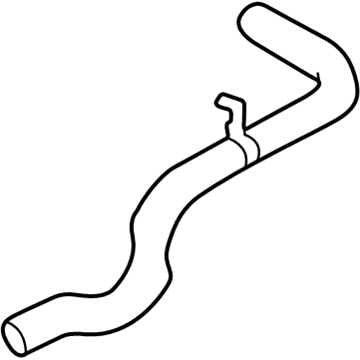 $34.16 $25.611
- 4
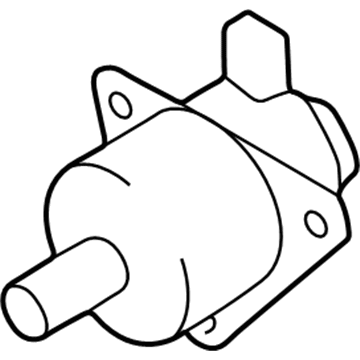
- 4
 $38.09 $28.561
- 5$34.16 $25.611
- 5
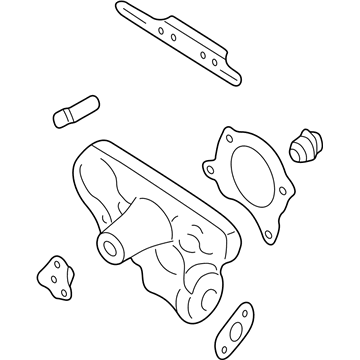
- 6$17.86 $13.391
- 6
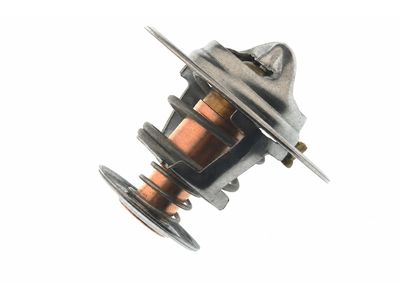
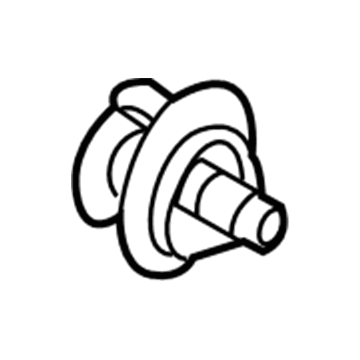 $26.82 $20.111
- 8
- 9
- 11
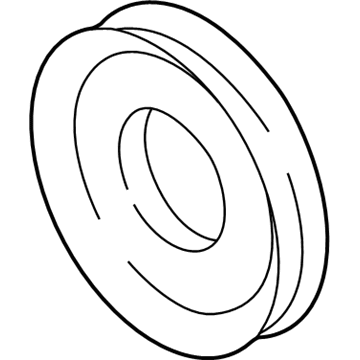 $47.27 $35.441
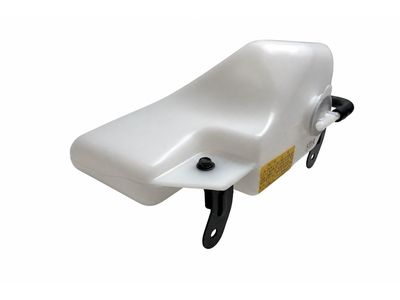
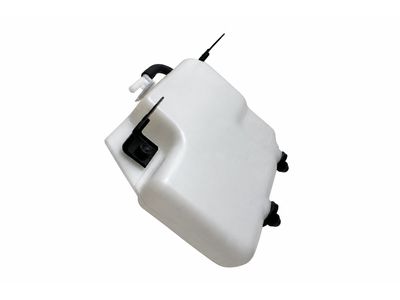 $212.80 $159.561
- $722.54 $537.471
- $102.35 $77.981
- $51.90 $38.911
- $38.29 $28.711
- $9.33 $7.001