×
- Hello
- Login or Register
- Quick Links
- Live Chat
- Track Order
- Parts Availability
- RMA
- Help Center
- Contact Us
- Shop for
- Mazda Parts

My Garage
My Account
Cart
Headlamps
1989 Mazda MX-6 Headlight
Currently shopping for
1989 Mazda MX-6
Change VehicleVehicle Options
4 Cyl 2.2 L GASVehicle Options
4 Cyl 2.2 L GASCategories Close X
Currently selected
Headlights & Lighting
Other Categories
A/C & Heating
Air & Fuel Delivery
Belts & Cooling
Body & Hardware
Brakes
Charging & Starting
Electrical
Emission Control & Exhaust
Engine
Interior & Exterior Trim
Maintenance & Lubrication
Steering
Suspension
Transmission
How to use OE catalog
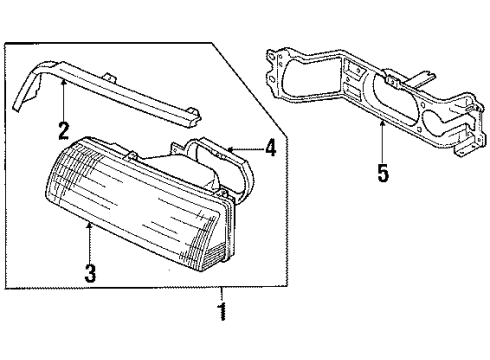
Diagram (1 of 1): Front Lamps - Headlamps
Sort by:
Ref No.
Ref No.
Part No. & Part Description
Price & Qty.
Part No. &
Part Description
Part Description
- 2
- 2
- 3$305.09 $228.781
- 4$55.18 $41.381
- 5
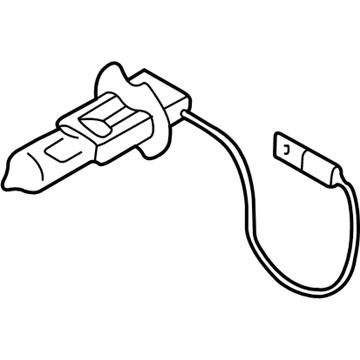 $27.99 $20.991
- $54.19 $40.641
OEM 1989 Mazda MX-6 Parts for Headlamps
All OEM parts go through rigorous quality control tests in order to ensure that they meet Mazda's standards for durability and quality. If you are looking for new OEM Headlamps parts, MazdaPartsNow.com has variety of authentic, OE 1989 Mazda MX-6 Headlight at competitive prices. All of our 1989 Mazda MX-6 parts maintain the guarantee of the manufacturer's warranty, and are offered with timely options for delivery.
Headlight Installation and Repair Tips for 1989 Mazda MX-6
- Q:Is correctly aiming the headlights crucial to avoid blinding oncoming drivers and ensure optimal visibility on the road on 1989 Mazda MX-6?A:Headlights should be properly directed to prevent blinding of the approaching cars and to have the best visibility. Control position of headlights by spring loaded screws in vertical and horizontal motion. Park on flat surface and place center lines, and make sure the vehicle is flat when making some adjustments on the position. The safety of low beams should be prioritized.