My Garage
Cart
Alternator

1991 Mazda RX-7 Alternator

Currently shopping for
1991 Mazda RX-7
Change Vehicle
Vehicle Options
2 Cyl 1.3 L GAS
Vehicle Options
2 Cyl 1.3 L GAS
Categories Close X

Currently selected

Charging & Starting

Other Categories

A/C & Heating
Air & Fuel Delivery
Belts & Cooling
Body & Hardware
Brakes
Driveline & Axles
Electrical
Emission Control & Exhaust
Engine
Headlights & Lighting
Interior & Exterior Trim
Maintenance & Lubrication
Steering
Suspension
Transmission
Categories Close X

Currently selected

Charging & Starting

Other Categories

A/C & Heating
Air & Fuel Delivery
Belts & Cooling
Body & Hardware
Brakes
Driveline & Axles
Electrical
Emission Control & Exhaust
Engine
Headlights & Lighting
Interior & Exterior Trim
Maintenance & Lubrication
Steering
Suspension
Transmission
Diagram (1 of 1): Alternator - Alternator
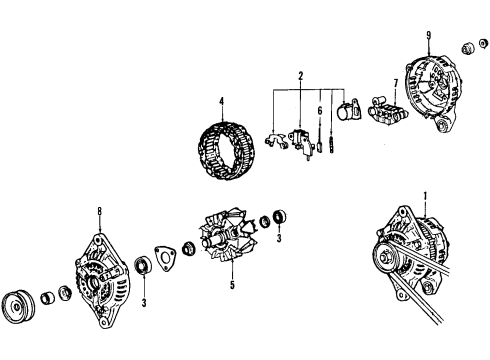
1991 Mazda RX-7 Alternator Diagram
Enlarge Diagram
Sort by:
Ref No.
Ref No.
Part No. & Part Description
Price & Qty.
Part No. &
Part Description

OEM 1991 Mazda RX-7 Parts for Alternator

All OEM parts go through rigorous quality control tests in order to ensure that they meet Mazda's standards for durability and quality. If you are looking for new OEM Alternator parts, MazdaPartsNow.com has variety of authentic, OE 1991 Mazda RX-7 Alternator at competitive prices. All of our 1991 Mazda RX-7 parts maintain the guarantee of the manufacturer's warranty, and are offered with timely options for delivery.

Alternator Installation and Repair Tips for 1991 Mazda RX-7

  • Q:
    Should you replace the alternator with a new or rebuilt one if a failure occurs, and what steps are involved in disassembly and rebuilding on 1991 Mazda RX-7?
    A:
    Once an alternator goes out, then possibly replace it with a new or a rebuilt one, however this can be rebuilt with the same parts available. It consists of the extraction of parts, functional assemblies, and continuity testing of parts. Changing worn bearings and brushes, cleaning all parts and returning them carefully to be sure they fit properly.
See All Installation and Repair Tips