×
- Hello
- Login or Register
- Quick Links
- Live Chat
- Track Order
- Parts Availability
- RMA
- Help Center
- Contact Us
- Shop for
- Mazda Parts

My Garage
My Account
Cart
Alternator
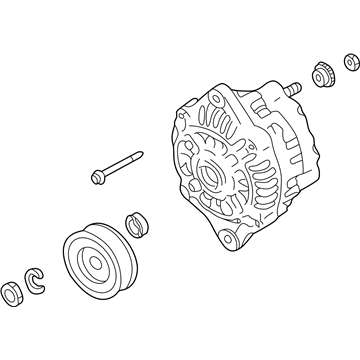
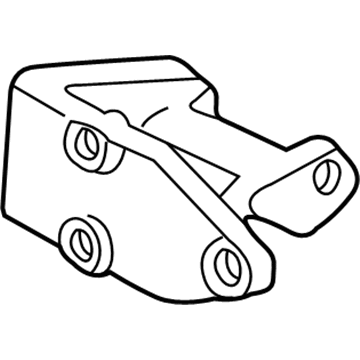
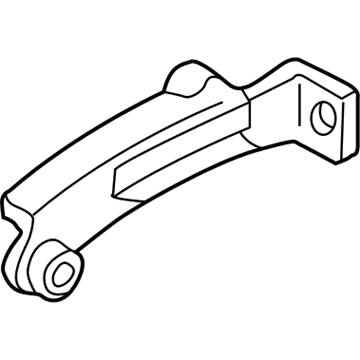
2000 Mazda Protege Alternator
Currently shopping for
2000 Mazda Protege
Change VehicleCategories Close X
Currently selected
Charging & Starting
Other Categories
A/C & Heating
Air & Fuel Delivery
Belts & Cooling
Body & Hardware
Brakes
Driveline & Axles
Electrical
Emission Control & Exhaust
Engine
Headlights & Lighting
Interior & Exterior Trim
Maintenance & Lubrication
Steering
Suspension
Transmission
How to use OE catalog
3 diagrams found for the vehicle you selected.Select your vehicle options to narrow down results.
- 1.Alternator - Alternator
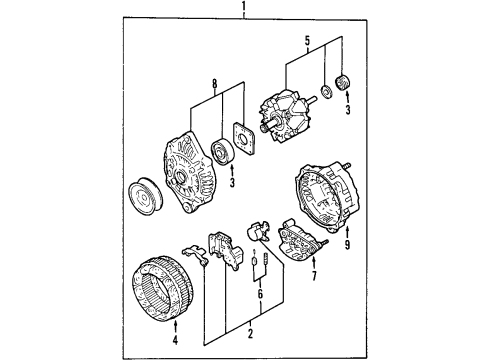
- 2.Electrical - Alternator (1.6L)
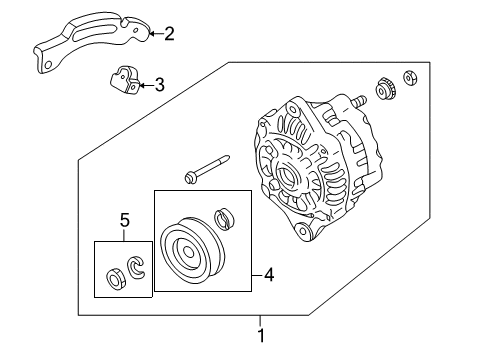
- 3.Electrical - Alternator (1.8L)
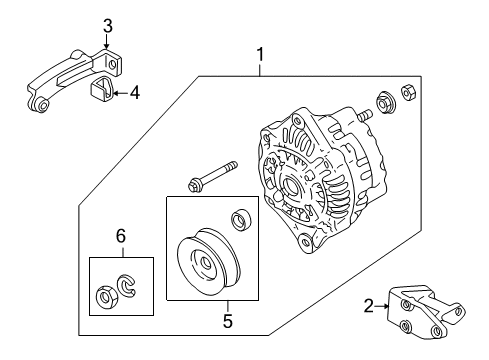
Sort by:
Ref No.
Ref No.
Part No. & Part Description
Price & Qty.
Part No. &
Part Description
Part Description
- 1
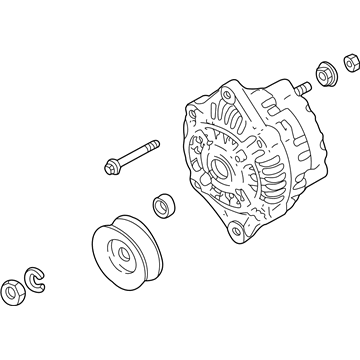
- 1
- 2
 $27.22 $20.411
- 2
- 2
 $342.61 $256.901
- 3
- 3
 $16.45 $12.341
- 3
 $51.31 $38.481
 - 3
 $43.77 $32.831
- 4
 $16.45 $12.341
- 4

- 4$532.62 $396.191
- 5
 $38.37 $29.241
- 5
 $16.27 $12.201
- 6$29.64 $22.231
- 6
 $16.27 $12.201
- 8$215.12 $161.311