×
- Hello
- Login or Register
- Quick Links
- Live Chat
- Track Order
- Parts Availability
- RMA
- Help Center
- Contact Us
- Shop for
- Mazda Parts

My Garage
My Account
Cart
Gate & Hardware
2007 Mazda 6 Door Moldings, Lift Support, Liftgate Lift Support
Currently shopping for
2007 Mazda 6
Change VehicleCategories Close X
Currently selected
Body & Hardware
- Bumper & Components - Front
- Bumper & Components - Rear
- Center Console
- Center Pillar
- Cluster & Switches
- Cowl
- Dash Panel Components
- Door & Components
- Ducts
- Fender & Components
- Floor & Rails
- Front Door
- Front Door - Lock & Hardware
- Front Seat Components
- Gate & Hardware
- Glass - Door
- Glass - Lift Gate
- Glass - Windshield
- Glass & Hardware - Back Glass
- Glass & Hardware - Quarter Panel
- Glove Box
- Grille & Components
- Hinge Pillar
- Hood & Components
- Information Labels
- Inner Structure - Quarter Panel
- Instrument Panel
- Instrument Panel Components
- Lift Gate
- Outside Mirrors
- Overhead Console
- Quarter Panel & Components
- Radiator Support
- Rear Body
- Rear Door
- Rear Door - Lock & Hardware
- Rear Floor & Rails
- Rear Seat Components
- Rear Spoiler
- Reveal Moldings
- Rocker Panel
- Roof & Components
- Seat Belt
- Sound System
- Structural Components & Rails
- Sunroof
- Tracks & Components
- Trunk
- Trunk Lid & Components
- Uniside
- Wiper & Washer Components
Other Categories
A/C & Heating
Air & Fuel Delivery
Belts & Cooling
Brakes
Charging & Starting
Driveline & Axles
Electrical
Emission Control & Exhaust
Engine
Headlights & Lighting
Interior & Exterior Trim
Maintenance & Lubrication
Steering
Suspension
Transmission
How to use OE catalog
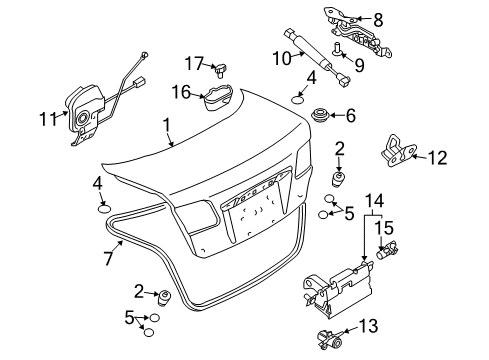
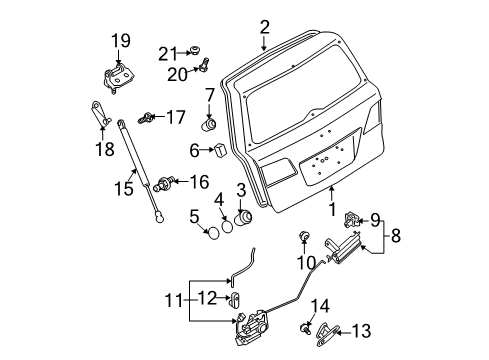
2 diagrams found for the vehicle you selected.Select your vehicle options to narrow down results.
- 1.Lift Gate - Gate & Hardware (Hatchback)
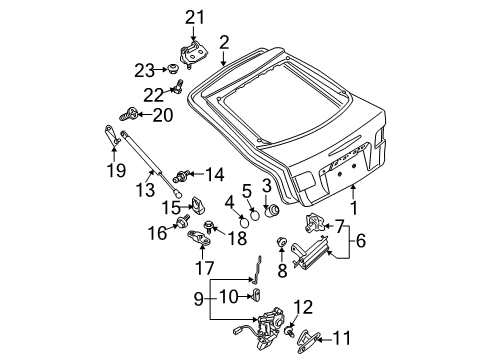
- 2.Lift Gate - Gate & Hardware (Wagon)
Sort by:
Ref No.
Ref No.
Part No. & Part Description
Price & Qty.
Part No. &
Part Description
Part Description
- 1
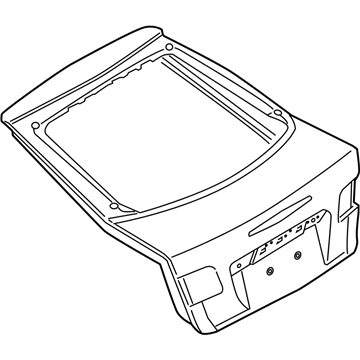 $1277.89 $935.231
 - 1
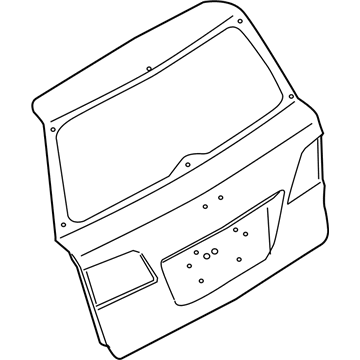
- 1
- 2
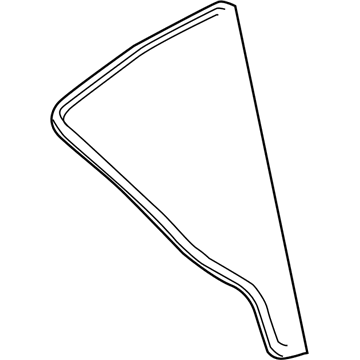
- 2
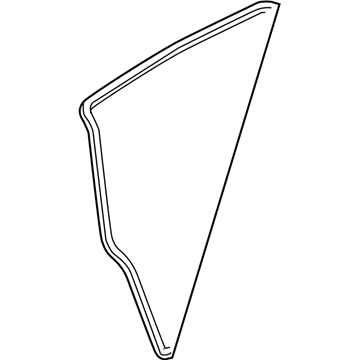 $66.01 $49.501
- 3
 $2.04 $1.531
- 4
 GK2E-62-864A
Weatherstrip Tape- Part Notes: Hatchback, Inner;Wagon, Inner
- Location: Driver Side;Passenger Side
$6.351
- 5
 GK2C-62-864
Weatherstrip Tape- Part Notes: Hatchback, Outer;Wagon, Outer
- Location: Driver Side;Passenger Side
$2.16 $1.611
- 6
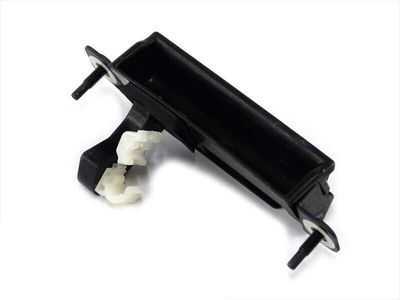
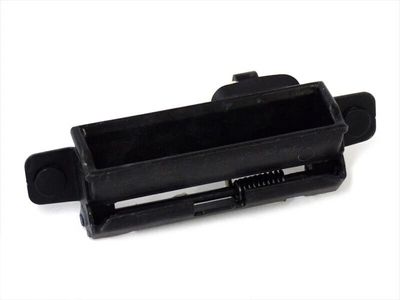
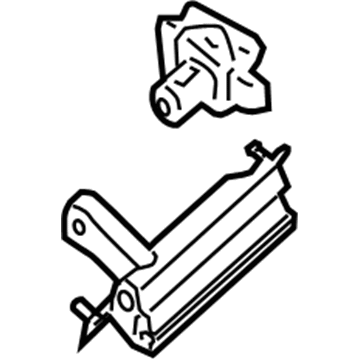 $65.44 $49.081
- 6

- 7

- 7
 $6.62 $4.961
- 8
 $65.44 $49.081
 - 8
 $2.17 $1.631
- 9

- 9
 $239.88 $179.881
- 10
 $2.17 $1.631
- 10
 $5.33 $4.001
- 11
 $211.49 $158.591
- 11
 $21.79 $16.341
- 12
 $5.33 $4.001
- 12
 $4.93 $3.701
- 13
 $21.79 $16.341
- 13
 $28.67 $21.501
 - 13$28.67 $21.501
- 13
- 13$28.67 $21.501
- 14
 $4.93 $3.701
- 14
 $7.93 $5.941
- 15
 $23.98 $17.981
 - 15
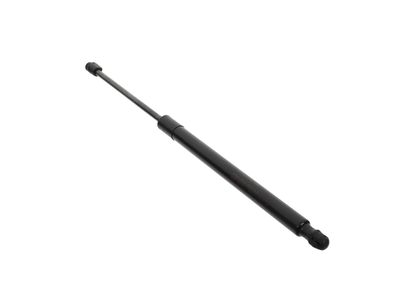
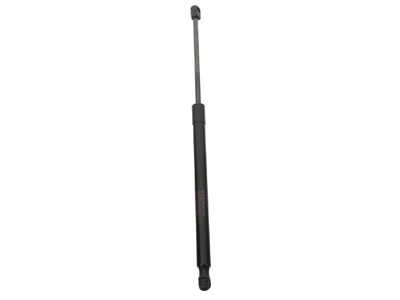 $23.98 $17.981
 - 15

- 16
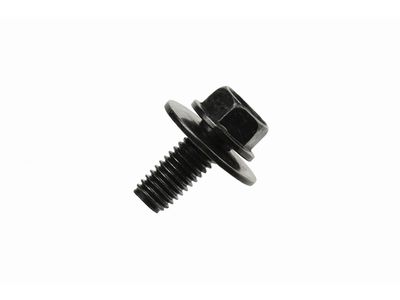
 $2.17 $1.631
 - 16
 $7.93 $5.941
- 17
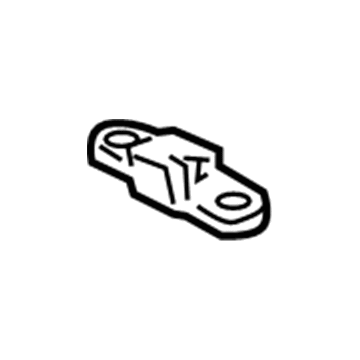 $22.02 $16.511
 - 17
 $2.17 $1.631
- 18
 $22.76 $17.061
 - 18$8.34 $6.351
- 18
 $2.17 $1.631
- 19
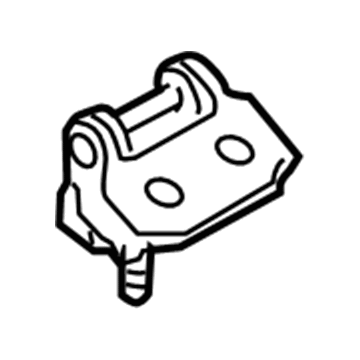 $30.58 $22.931
- 19
 $22.76 $17.061
 - 19$8.34 $6.351
- 20
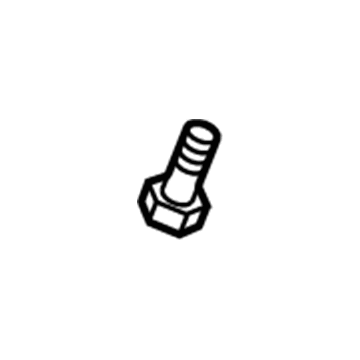 $8.34 $6.251
 - 20
 $2.06 $1.541
- 21
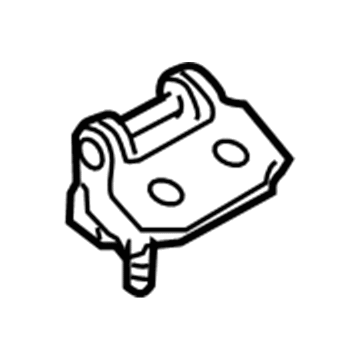 $8.34 $6.351
 - 21

- 22
 $8.34 $6.251
- 23
OEM 2007 Mazda 6 Parts for Gate & Hardware
All OEM parts go through rigorous quality control tests in order to ensure that they meet Mazda's standards for durability and quality. If you are looking for new OEM Gate & Hardware parts, MazdaPartsNow.com has variety of authentic, OE 2007 Mazda 6 Door Moldings, Lift Support, Liftgate Lift Support at competitive prices. All of our 2007 Mazda 6 parts maintain the guarantee of the manufacturer's warranty, and are offered with timely options for delivery.
Liftgates Installation and Repair Tips for 2007 Mazda 6
- Q:How can liftgates be removed and installed safely and effectively on 2007 Mazda 6?A:The liftgate is bulky and this should be carried out by two or more persons. Unplug the negative battery terminal, lift the liftgate and prop it up. Take away trim-panels and unscrew other connectors. Mark hinge assemblage reassembly. Take off bolts and take off door. Make installation, check, and adjust accordingly.