×
- Hello
- Login or Register
- Quick Links
- Live Chat
- Track Order
- Parts Availability
- RMA
- Help Center
- Contact Us
- Shop for
- Mazda Parts

My Garage
My Account
Cart
Emission Components
2007 Mazda 6 Oxygen Sensor, EGR Tube, Vapor Canister
Currently shopping for
2007 Mazda 6
Change VehicleCategories Close X
Currently selected
Emission Control & Exhaust
Other Categories
A/C & Heating
Air & Fuel Delivery
Belts & Cooling
Body & Hardware
Brakes
Charging & Starting
Driveline & Axles
Electrical
Engine
Headlights & Lighting
Interior & Exterior Trim
Maintenance & Lubrication
Steering
Suspension
Transmission
Categories Close X
How to use OE catalog
3 diagrams found for the vehicle you selected.Select your vehicle options to narrow down results.
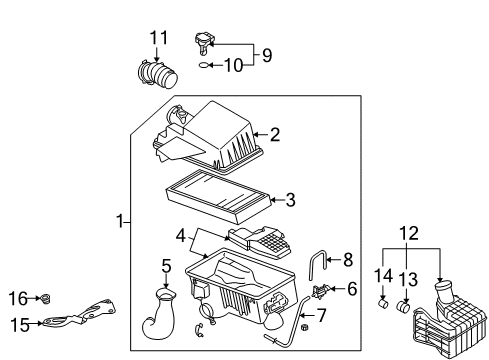
- 1.Emission System - Emission Components (2.3L,With Turbocharger)
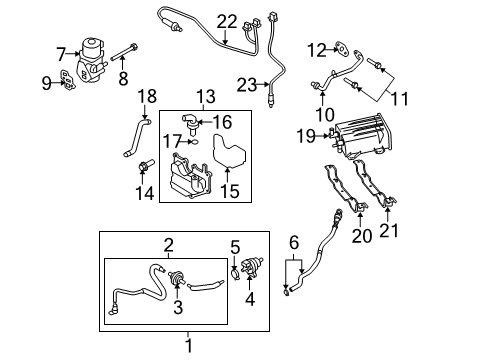
- 2.Emission System - Emission Components (2.3L,Without Turbocharger)
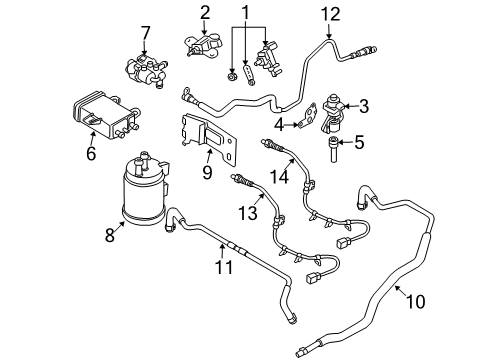
- 3.Emission System - Emission Components (3.0L)
Sort by:
Ref No.
Ref No.
Part No. & Part Description
Price & Qty.
Part No. &
Part Description
Part Description
- 1
 $190.46 $142.811
- 1
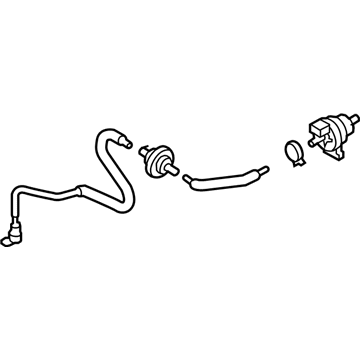 $299.22 $224.381
- 2
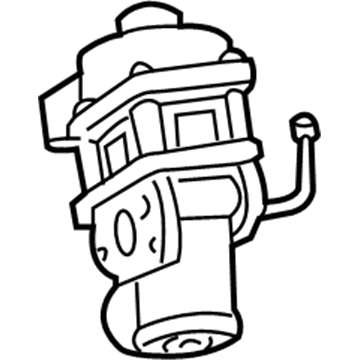
- 2
 $156.21 $117.141
- 2
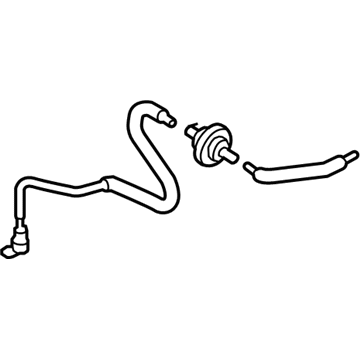 $149.98 $112.461
- 3

- 3
 $119.21 $89.391
 - 3
 $23.04 $17.281
- 4
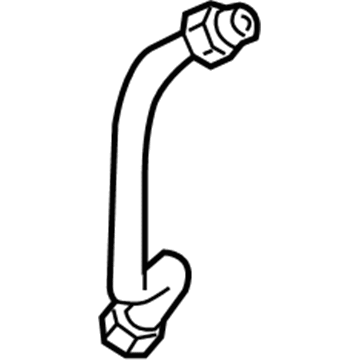
- 4
 $1.67 $1.251
- 4
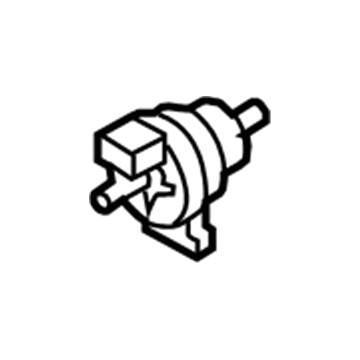 $135.80 $101.831
- 5

- 5
 $2.78 $2.081
- 5
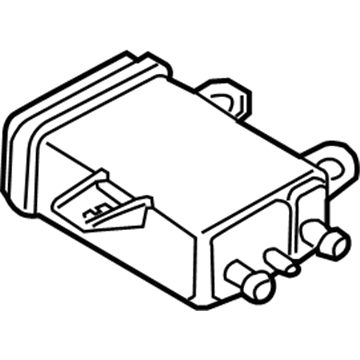
- 6
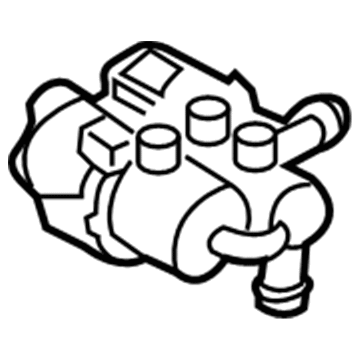 $195.87 $146.881
- 6
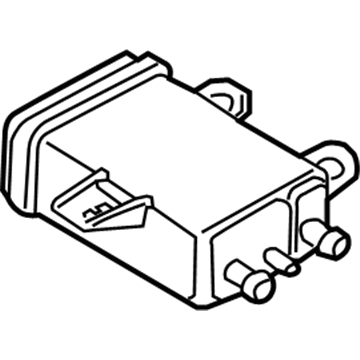
- 7
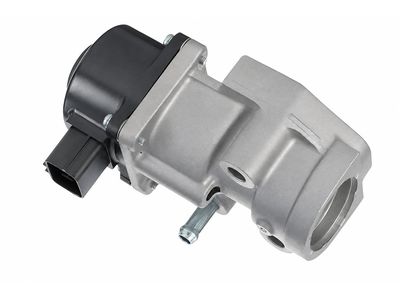
 $704.98 $524.401
- 7
 $195.87 $146.881
- 8
- 9
 $8.88 $6.661
- 9
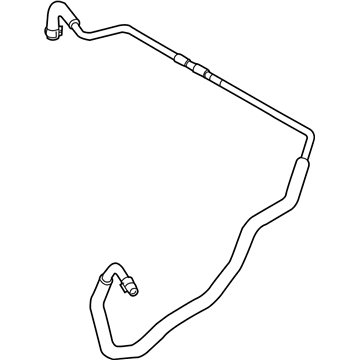 $27.14 $20.351
- 10
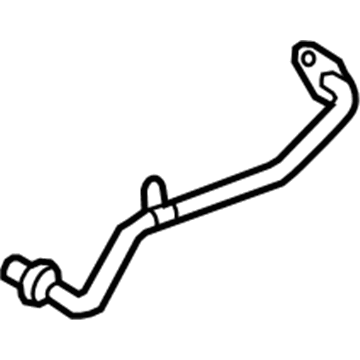 $121.55 $91.151
- 10
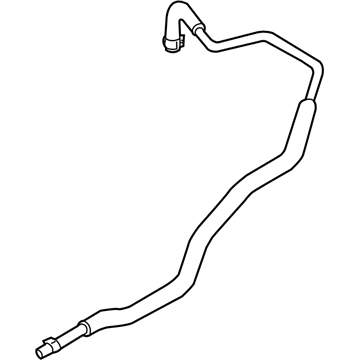 $50.39 $37.791
- 11
 $2.42 $1.811
- 12
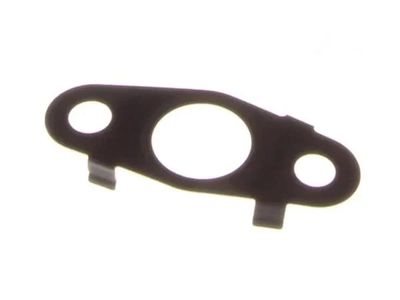
 $6.07 $4.551
- 12
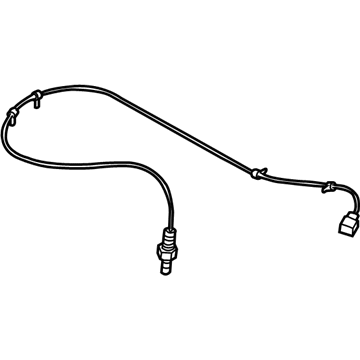 $221.71 $166.251
- 12
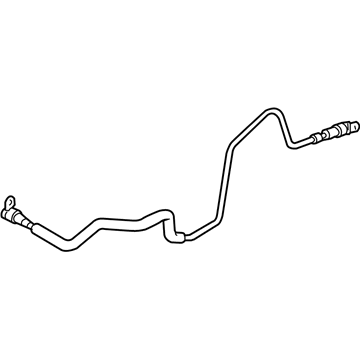 $43.52 $32.641
- 13
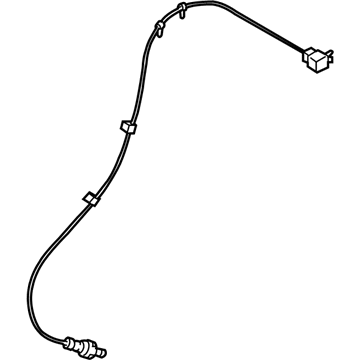 $65.93 $49.441
 - 13
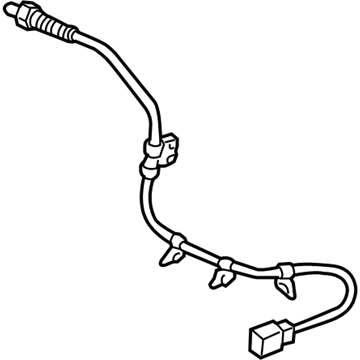 $255.53 $191.611
- 13
 $96.98 $72.711
- 14
 $122.88 $92.141
 - 14
 $189.96 $142.441
- 14
 $4.05 $3.041
- 15
- 15
 $14.79 $11.091
- 16
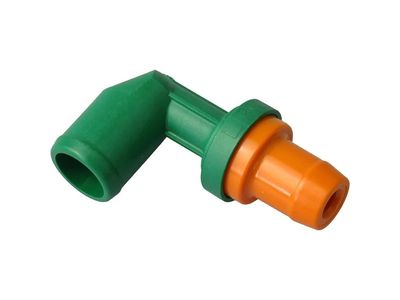
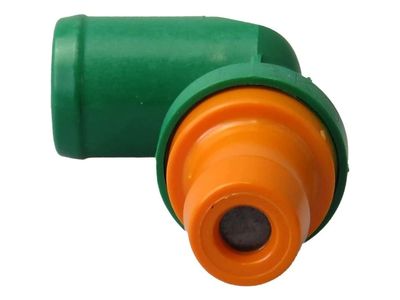
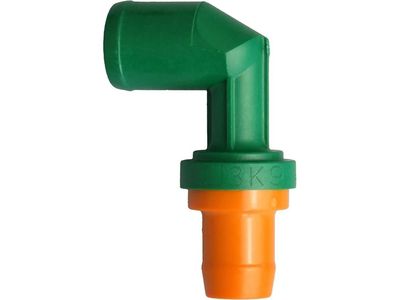
 $31.17 $23.381
- 17
 $5.61 $4.201
- 18
 $49.81 $37.351
- 19
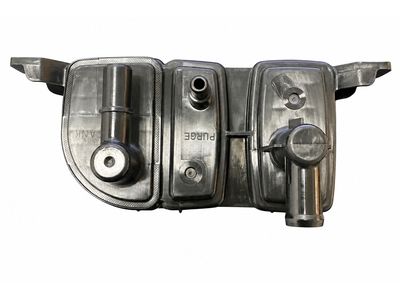
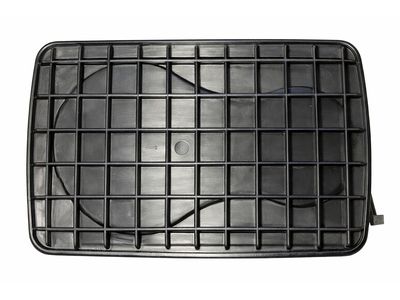
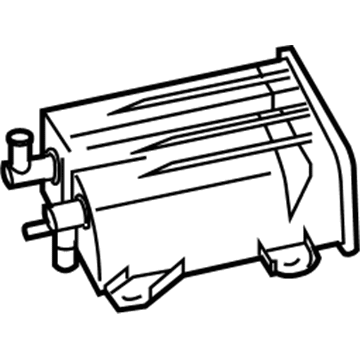
- 21
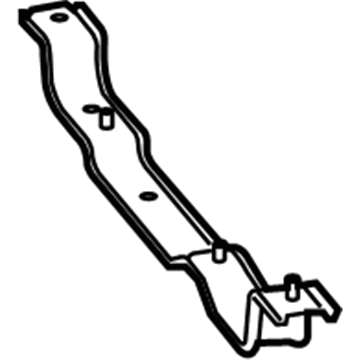
- 22
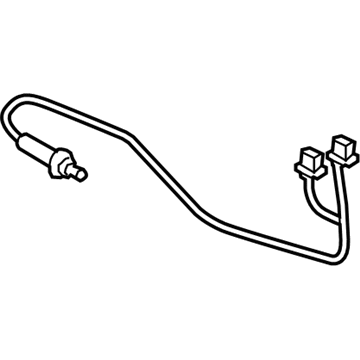 $352.93 $264.641
- 23
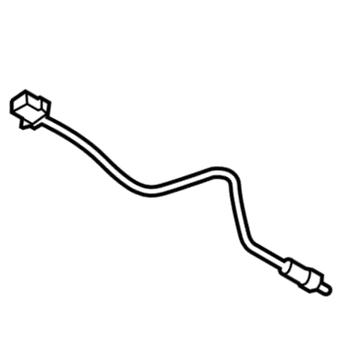
OEM 2007 Mazda 6 Parts for Emission Components
All OEM parts go through rigorous quality control tests in order to ensure that they meet Mazda's standards for durability and quality. If you are looking for new OEM Emission Components parts, MazdaPartsNow.com has variety of authentic, OE 2007 Mazda 6 Oxygen Sensor, EGR Tube, Vapor Canister at competitive prices. All of our 2007 Mazda 6 parts maintain the guarantee of the manufacturer's warranty, and are offered with timely options for delivery.
Vapor Canister Installation and Repair Tips for 2007 Mazda 6
- Q:Where is the EVAP canister purge valve and Vapor Canister located and what are the steps for its removal and installation on 2007 Mazda 6?A:The four-cylinder model has the EVAP purge valve at the cylinder head, whereas the right (3.0L)or left (3.7L) rear of V6 has this valve. For some V6 years, lower cowl or PCM removal, battery negative disconnect. The quick-connects and connectors were detached. The valve and bracket were removed. The canister was removed after raising the vehicle and disconnecting the lines, fasteners, and vent-solenoid.