×
- Hello
- Login or Register
- Quick Links
- Live Chat
- Track Order
- Parts Availability
- RMA
- Help Center
- Contact Us
- Shop for
- Mazda Parts

My Garage
My Account
Cart
A/C & Heater Control Units
2008 Mazda 6 Blend Door Actuator, A/C Switch
Currently shopping for
2008 Mazda 6
Change VehicleCategories Close X
Currently selected
A/C & Heating
Other Categories
Air & Fuel Delivery
Belts & Cooling
Body & Hardware
Brakes
Charging & Starting
Driveline & Axles
Electrical
Emission Control & Exhaust
Engine
Headlights & Lighting
Interior & Exterior Trim
Maintenance & Lubrication
Steering
Suspension
Transmission
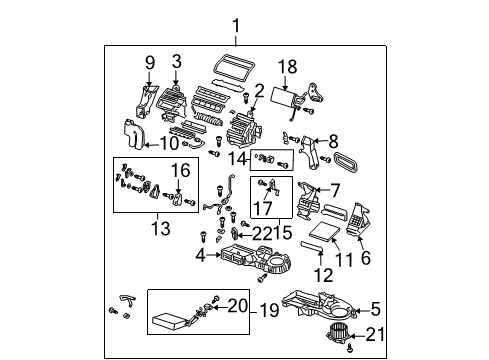
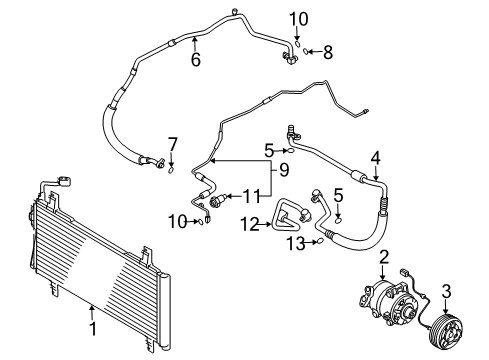
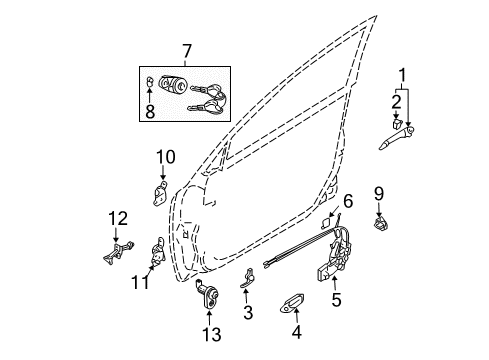
How to use OE catalog
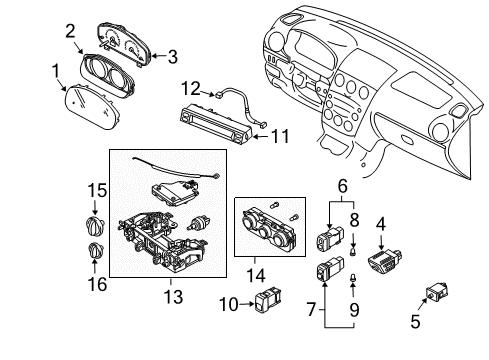
Diagram (1 of 1): Instrument Panel - Cluster & Switches
Sort by:
Ref No.
Ref No.
Part No. & Part Description
Price & Qty.
Part No. &
Part Description
Part Description
- 1
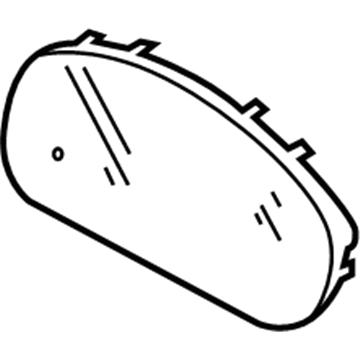 $53.32 $39.991
 - 1$30.58 $22.931
- 2
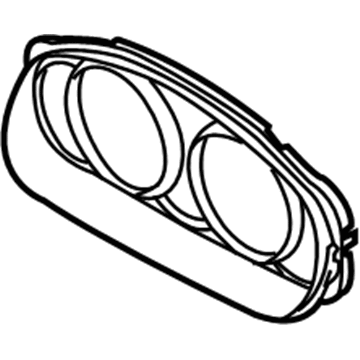 $124.53 $93.381
- 3
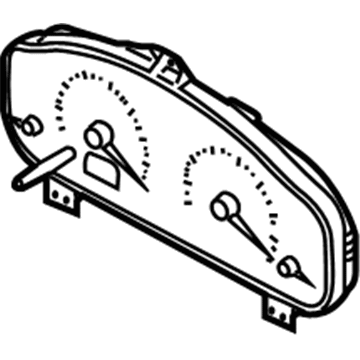 GAS6-55-471A
Gauge Cluster- Part Notes: Mazda6, With Standard Meter Panel, Auto Transmission;Mazda6, With Standard Meter Panel, Manual Transmission
- 3$936.40 $685.311
- 3
- 4
 $53.45 $40.091
- 6
- 6$70.68 $53.001
- 6$46.95 $35.201
- 7
 $173.97 $130.451
- 8
 $6.54 $4.901
- 9
 $6.54 $4.901
- 10
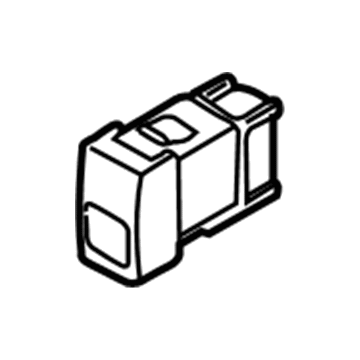 $11.07 $8.301
- 12
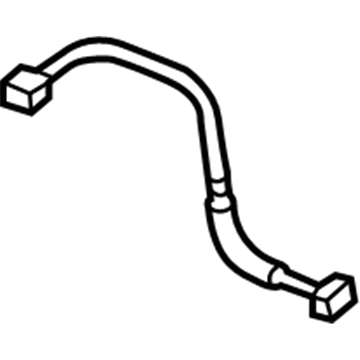
- 13
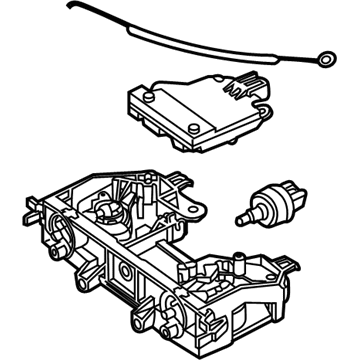 $303.32 $227.441
- 15
 $20.97 $15.731
- 16
 $19.11 $14.331
- $63.24 $47.411
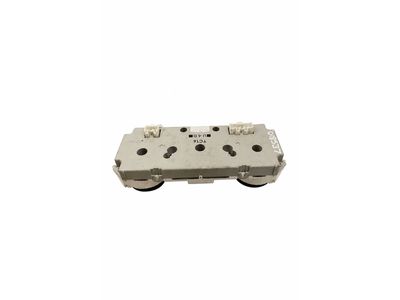
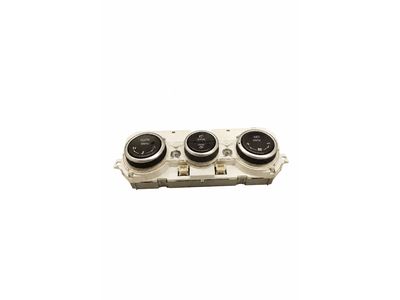
OEM 2008 Mazda 6 Parts for A/C & Heater Control Units
All OEM parts go through rigorous quality control tests in order to ensure that they meet Mazda's standards for durability and quality. If you are looking for new OEM A/C & Heater Control Units parts, MazdaPartsNow.com has variety of authentic, OE 2008 Mazda 6 Blend Door Actuator, A/C Switch at competitive prices. All of our 2008 Mazda 6 parts maintain the guarantee of the manufacturer's warranty, and are offered with timely options for delivery.
Instrument Cluster Installation and Repair Tips for 2008 Mazda 6
- Q:Is this procedure for removing the Instrument Cluster difficult for the home mechanic on 2008 Mazda 6?A:Labour-intensive work is usually brought up by hobbyists which involves concealing fasteners tight angles as well as numerous electrical connectors being labelled and disconnected. Steering components and various interior fittings are removed. The steering-shaft relation is marked, the old pinch bolt discarded, and a new one fitted during the reassembly that generally follows in reverse order.