×
- Hello
- Login or Register
- Quick Links
- Live Chat
- Track Order
- Parts Availability
- RMA
- Help Center
- Contact Us
- Shop for
- Mazda Parts

My Garage
My Account
Cart
Hydraulic System - Brakes
2012 Mazda 6 Brake Booster, Brake Master Cylinder, Brake Line, Hydraulic Hose
Currently shopping for
2012 Mazda 6
Change VehicleCategories Close X
Currently selected
Other Categories
A/C & Heating
Air & Fuel Delivery
Belts & Cooling
Body & Hardware
Charging & Starting
Driveline & Axles
Electrical
Emission Control & Exhaust
Engine
Headlights & Lighting
Interior & Exterior Trim
Maintenance & Lubrication
Steering
Suspension
Transmission
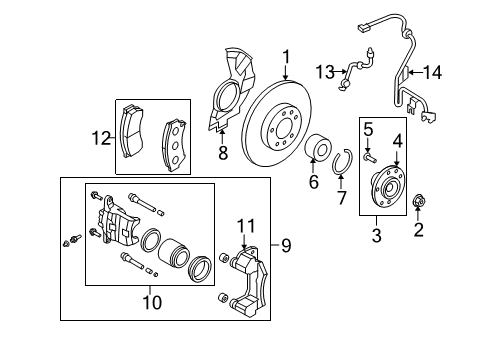
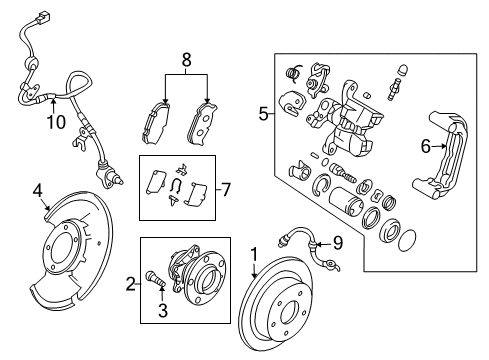
How to use OE catalog
2 diagrams found for the vehicle you selected.Select your vehicle options to narrow down results.
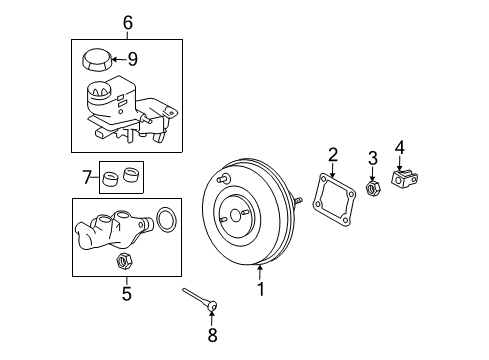
- 1.Cowl - Components On Dash Panel (2.5L)
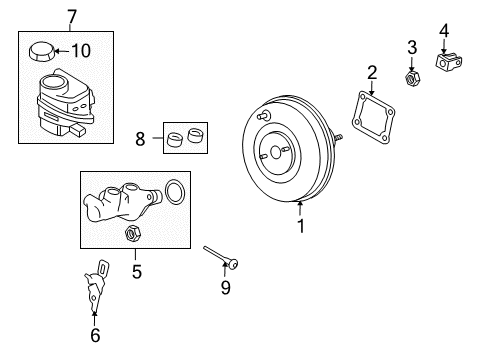
- 2.Cowl - Components On Dash Panel (3.7L)
Sort by:
Ref No.
Ref No.
Part No. & Part Description
Price & Qty.
Part No. &
Part Description
Part Description
- 1
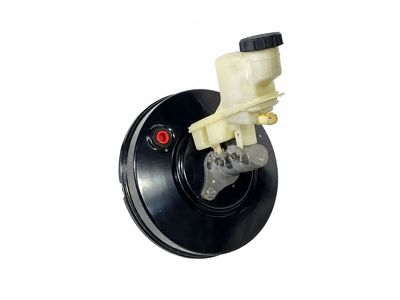
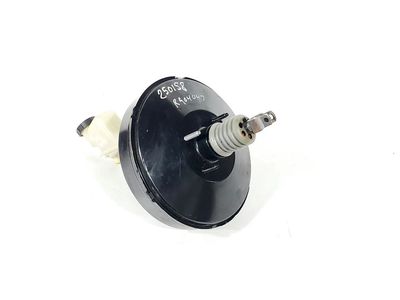
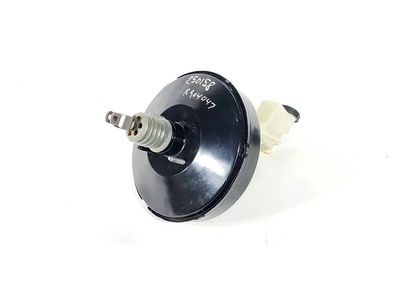
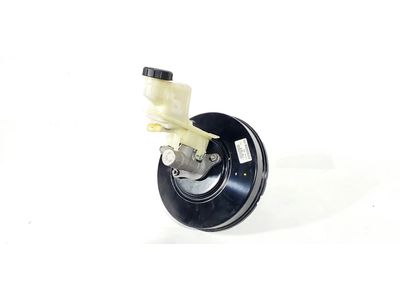
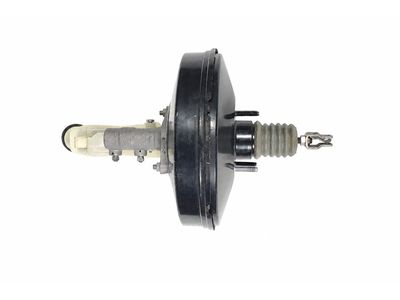
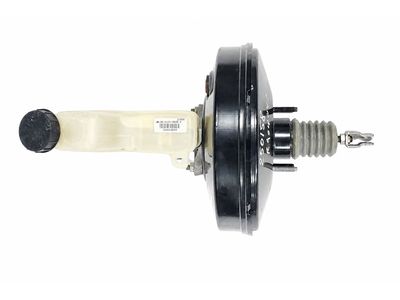
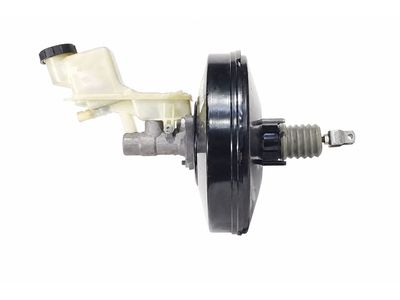
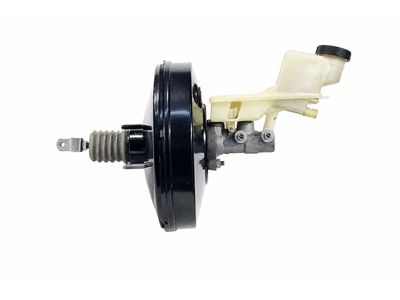
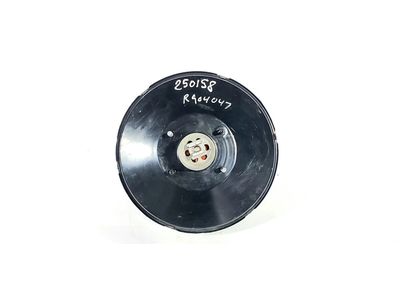
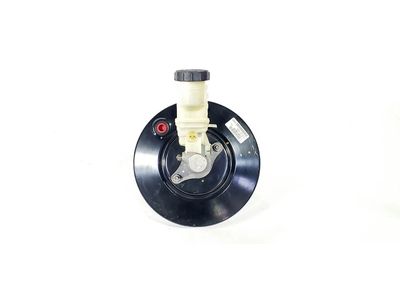
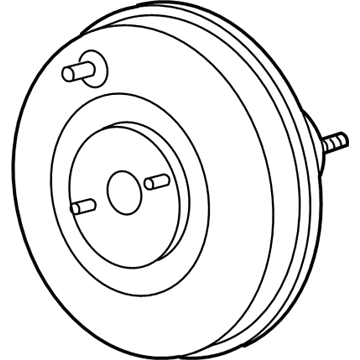 $82.58 $61.931
- 2
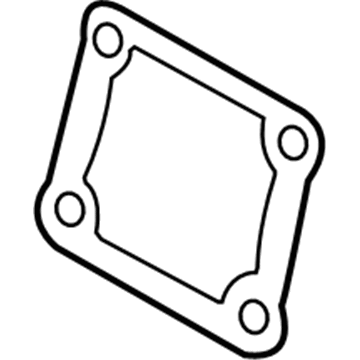 $2.01 $1.501
- 3

- 4
 $2.12 $1.591
- 5
 $114.15 $85.591
- 6
 $36.83 $27.631
 - 6$38.99 $29.241
- 7
 $49.36 $37.011
 - 7
 $5.47 $4.101
- 8
 $5.47 $4.101
 - 8
 $0.62 $0.461
- 9
 $18.73 $14.041
 - 9
 $0.62 $0.461
- 10
 $18.73 $14.041
OEM 2012 Mazda 6 Parts for Hydraulic System - Brakes
All OEM parts go through rigorous quality control tests in order to ensure that they meet Mazda's standards for durability and quality. If you are looking for new OEM Hydraulic System - Brakes parts, MazdaPartsNow.com has variety of authentic, OE 2012 Mazda 6 Brake Booster, Brake Master Cylinder, Brake Line, Hydraulic Hose at competitive prices. All of our 2012 Mazda 6 parts maintain the guarantee of the manufacturer's warranty, and are offered with timely options for delivery.
Brake Booster, Brake Master Cylinder Installation and Repair Tips for 2012 Mazda 6
- Q:How to perform an operating check and airtightness check on a brake booster on 2012 Mazda 6?A:The MAP sensor is fitted on the left half of the front intake manifold. Begin by unplugging the cable of the negative battery terminal, then unplugging the electrical connector of the MAP sensor. Take off the sensor by removing the retaining bolt. The installation is the opposite of the removal process.
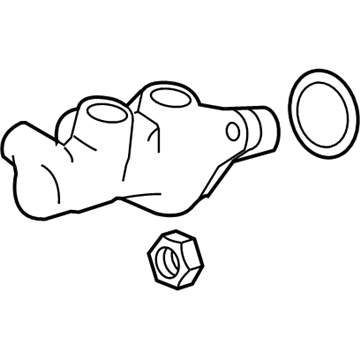
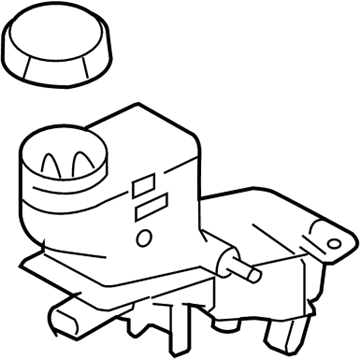
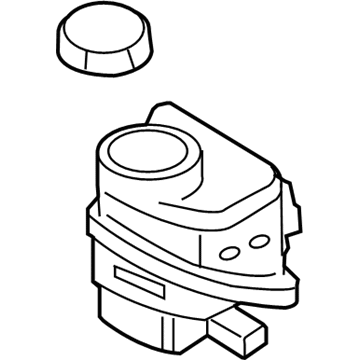
- Q:How to remove and install a Brake Master Cylinder on 2012 Mazda 6?A:Take out battery tray, drain down reservoir fluid and also cover fittings and painted areas. Remove loosen fittings (manual) by flare-nut wrench, draw lines away and plug. Disconnect the level-switch, loosen and take off the master cylinder. Install, fill, bleed, tighten, transfer reservoir and O-rings, bench-bleed and test.