×
- Hello
- Login or Register
- Quick Links
- Live Chat
- Track Order
- Parts Availability
- RMA
- Help Center
- Contact Us
- Shop for
- Mazda Parts

My Garage
My Account
Cart
Switches
2012 Mazda MX-5 Miata Neutral Safety Switch, Door Jamb Switch, Headlight Switch, Turn Signal Switch
Currently shopping for
2012 Mazda MX-5 Miata
Change VehicleVehicle Options
4 Cyl 2.0 L GASVehicle Options
4 Cyl 2.0 L GASCategories Close X
Currently selected
Electrical
Other Categories
A/C & Heating
Air & Fuel Delivery
Belts & Cooling
Body & Hardware
Brakes
Charging & Starting
Driveline & Axles
Emission Control & Exhaust
Engine
Headlights & Lighting
Interior & Exterior Trim
Maintenance & Lubrication
Steering
Suspension
Transmission
Categories Close X
How to use OE catalog
2 diagrams found for the vehicle you selected.Select your vehicle options to narrow down results.
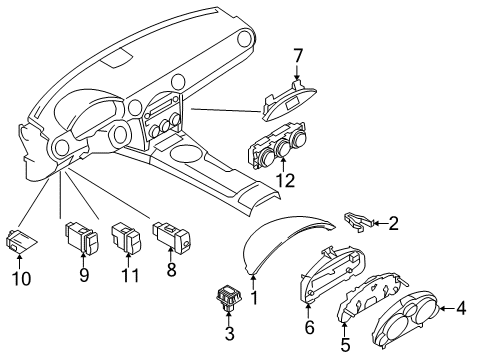
- 1.Instrument Panel - Cluster & Switches
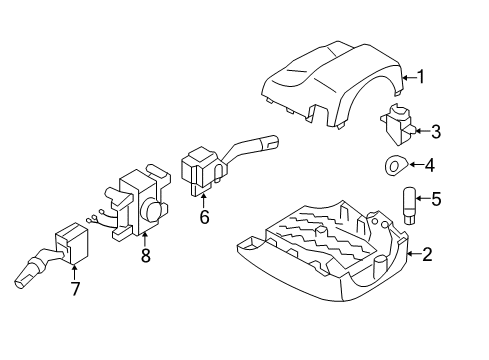
- 2.Steering Column - Shroud, Switches & Levers
Sort by:
Ref No.
Ref No.
Part No. & Part Description
Price & Qty.
Part No. &
Part Description
Part Description
- 1
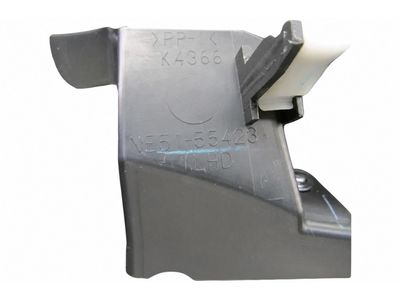
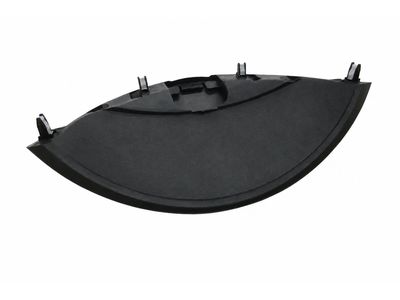
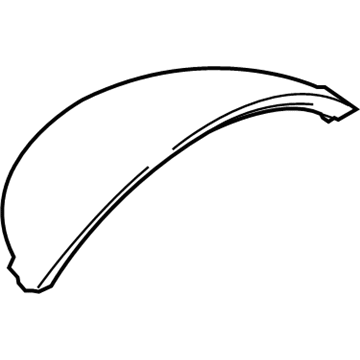 $105.55 $79.151
 - 1$133.28 $99.941
- 1
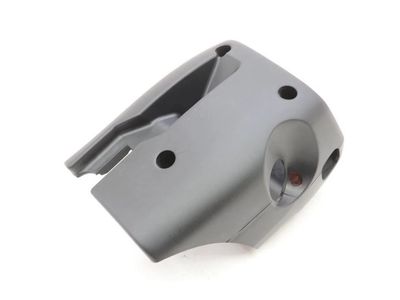
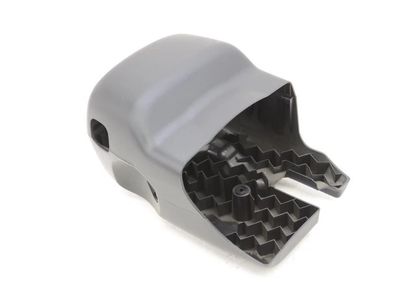
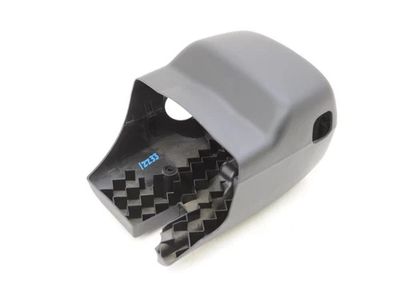
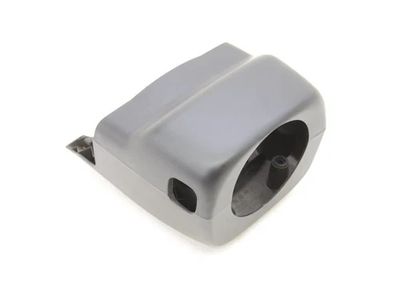
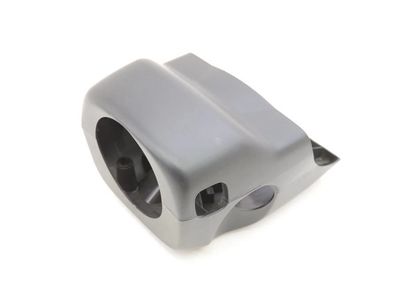
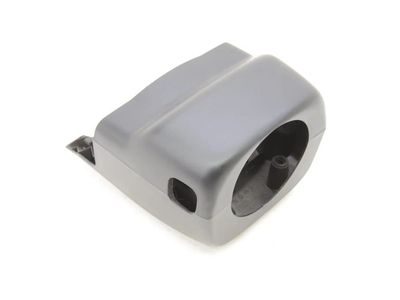
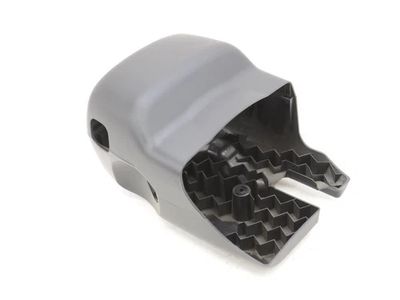
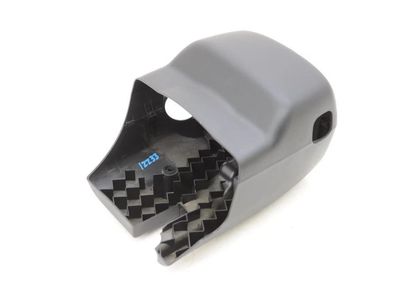
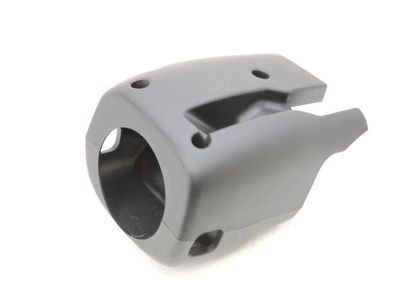
 $10.47 $7.851
 - 1
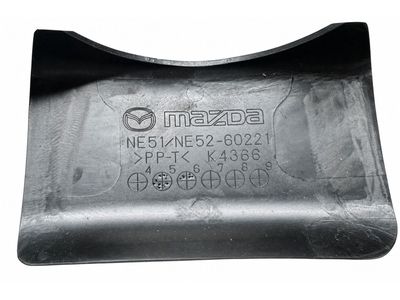
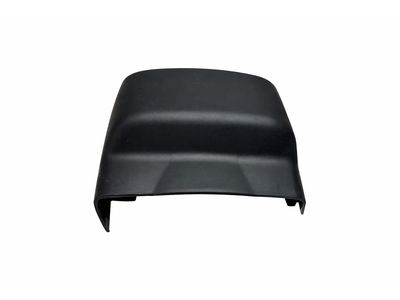 $10.95 $8.211
- 2
 $1.55 $1.161
 - 2
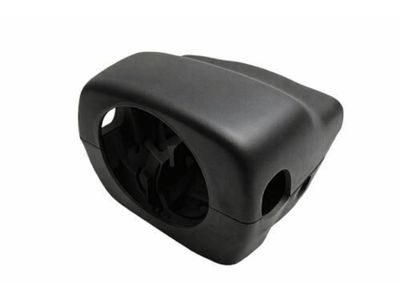
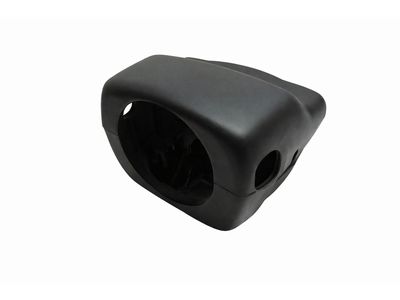
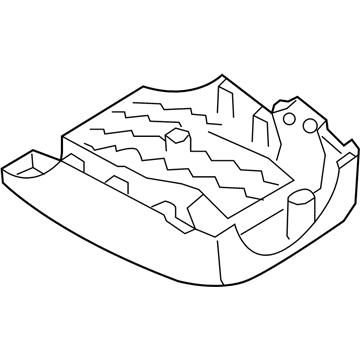 $18.66 $13.991
 - 2$18.17 $13.631
- 3
 $3.66 $2.751
- 3
 $176.70 $132.501
- 4
 $268.79 $201.551
 - 4$289.76 $217.281
- 4
 $4.23 $3.181
 - 4
- 5
 $5.10 $3.831
- 5
 $898.92 $657.871
 - 5$937.79 $686.321
- 6
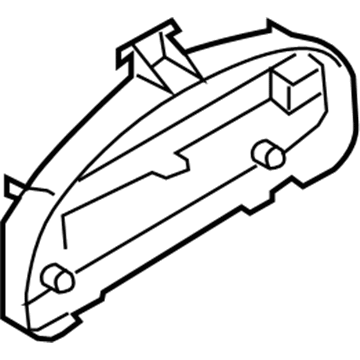 $39.58 $29.681
- 6
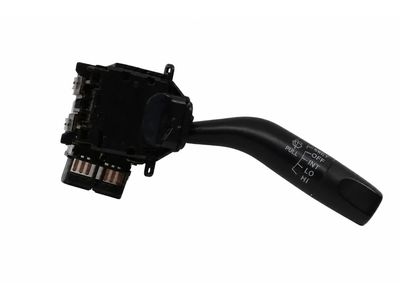
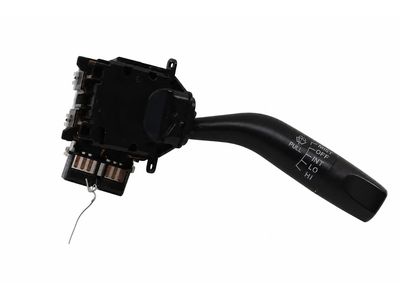
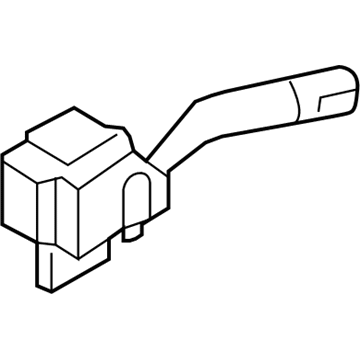 $172.28 $129.191
- 7
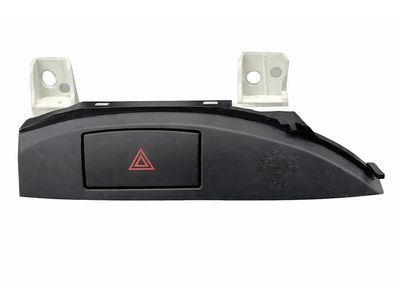
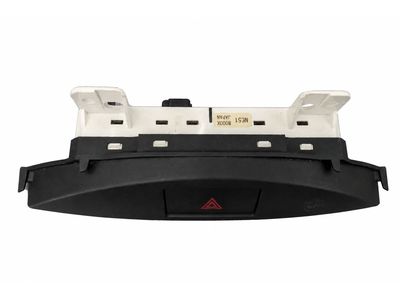
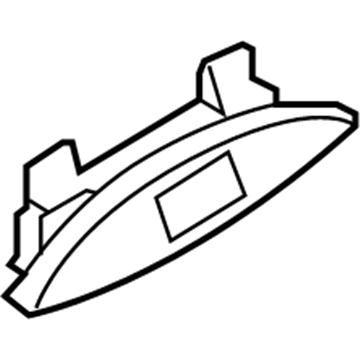 $123.28 $92.441
 - 7
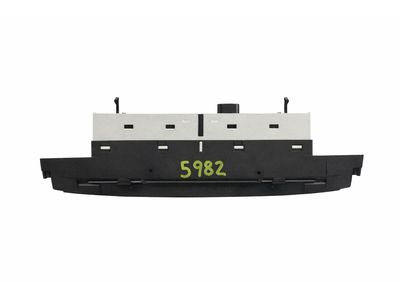
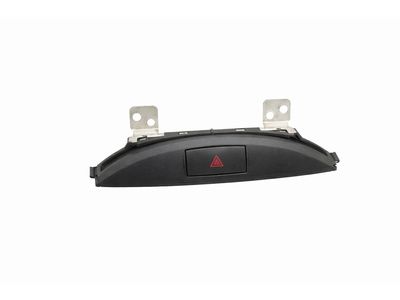 $228.26 $171.161
 - 7
 $129.93 $97.431
 - 7$148.64 $111.461
- 8
 $163.47 $122.581
 - 8
 $30.58 $22.931
 - 8$362.36 $271.711
- 9
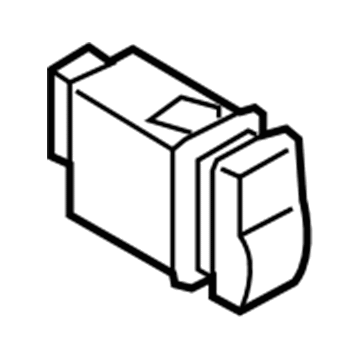 $91.86 $68.881
- 10
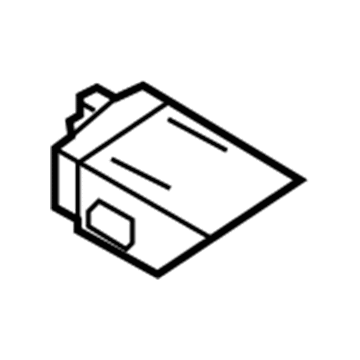 $53.45 $40.091
- 11
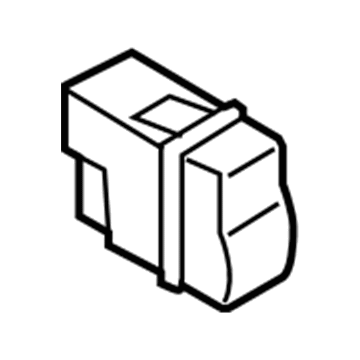 $11.39 $8.541
- 12
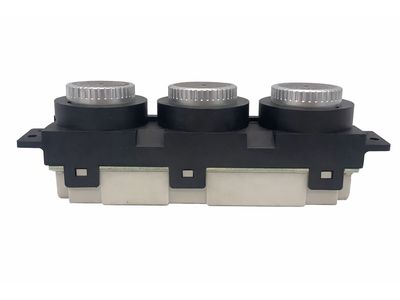
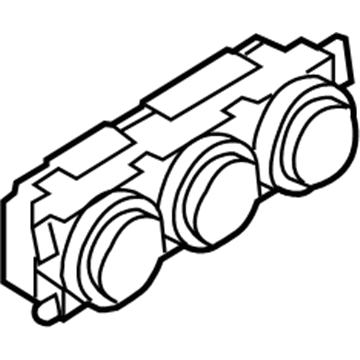 $909.27 $665.451
 - 12
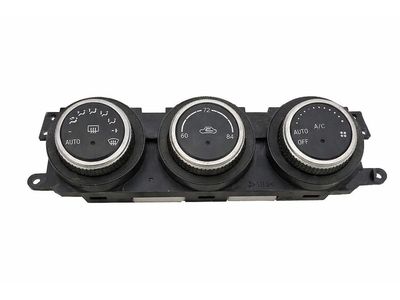 $945.63 $692.071
 - 12$922.09 $120.371
- $66.19 $49.641
- $59.12 $44.341
- $15.80 $11.851
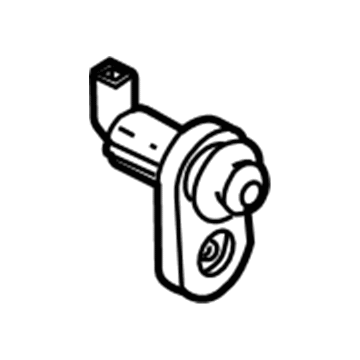 $14.81 $11.111
- $57.45 $43.081
 $15.50 $11.631
- $393.34 $294.951
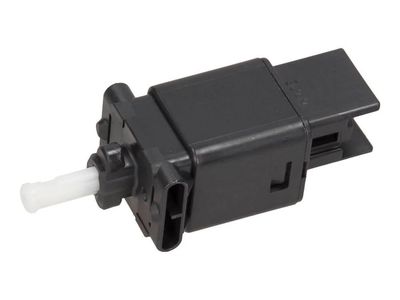 $31.33 $23.501