×
- Hello
- Login or Register
- Quick Links
- Live Chat
- Track Order
- Parts Availability
- RMA
- Help Center
- Contact Us
- Shop for
- Mazda Parts

My Garage
My Account
Cart
Genuine Mazda 6 Vapor Canister
Fuel Vapor Canister- Select Vehicle by Model
- Select Vehicle by VIN
Select Vehicle by Model
orMake
Model
Year
Select Vehicle by VIN
For the most accurate results, select vehicle by your VIN (Vehicle Identification Number).
10 Vapor Canisters found
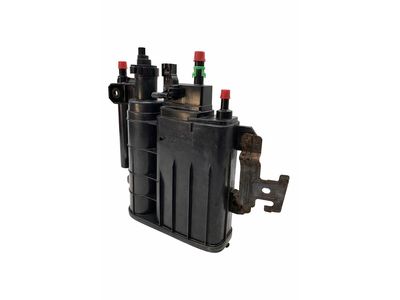
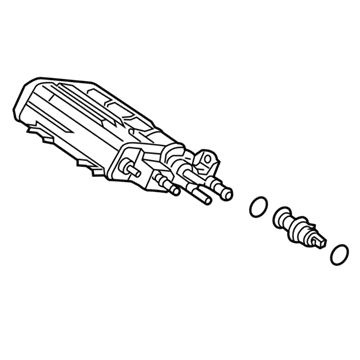
Mazda 6 Vapor Canister Part Number: PY1J-13-96ZB
$186.36 MSRP: $248.53You Save: $62.17 (26%)Ships in 1-2 Business Days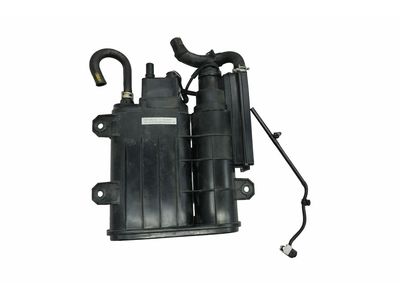
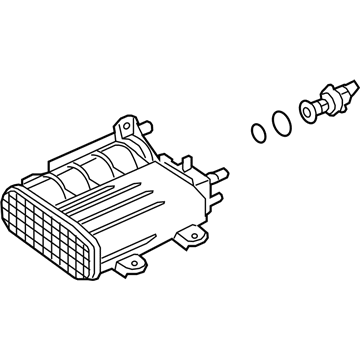
Mazda 6 Vapor Canister Part Number: PYFA-13-96ZA
$306.36 MSRP: $408.57You Save: $102.21 (26%)Ships in 1-2 Business Days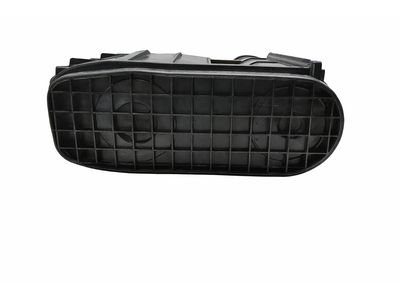
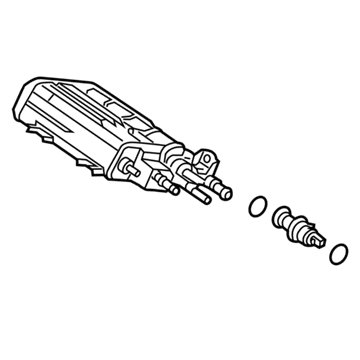
Mazda 6 Vapor Canister Part Number: PY1J-13-96Z
$284.34 MSRP: $379.19You Save: $94.85 (26%)Ships in 1-2 Business Days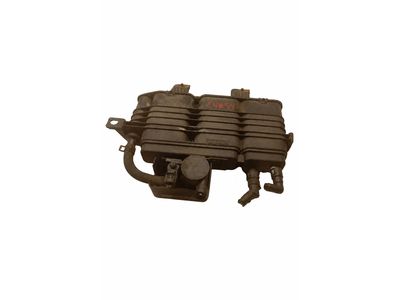
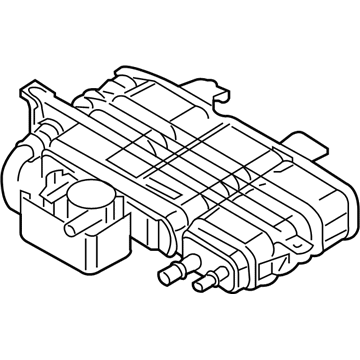
Mazda 6 Vapor Canister Part Number: L518-13-96ZB
$183.76 MSRP: $245.07You Save: $61.31 (26%)Ships in 1-2 Business Days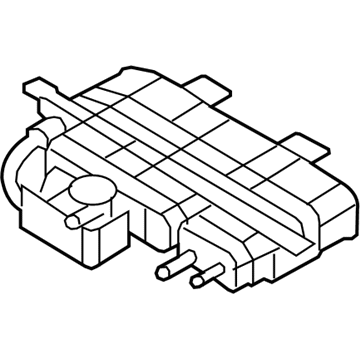
Mazda 6 Vapor Canister Part Number: CA01-13-96ZC
$181.94 MSRP: $242.62You Save: $60.68 (26%)Ships in 1-2 Business DaysMazda 6 Vapor Canister Part Number: PY8G-13-96Z
$302.41 MSRP: $403.30You Save: $100.89 (26%)Ships in 1-2 Business Days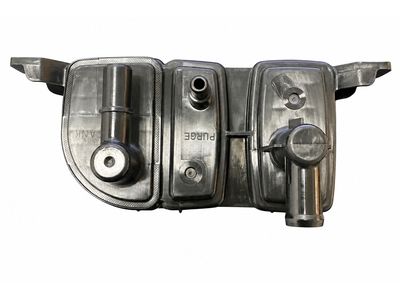
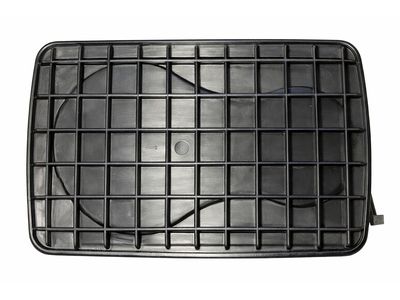
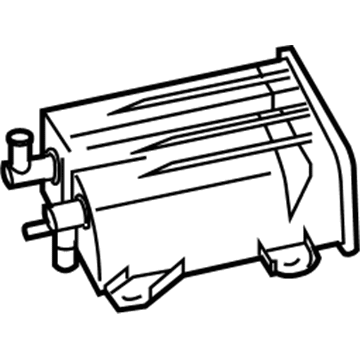
Mazda 6 Vapor Canister Part Number: L3K9-13-970

Mazda 6 Vapor Canister Part Number: L3F7-13-970A
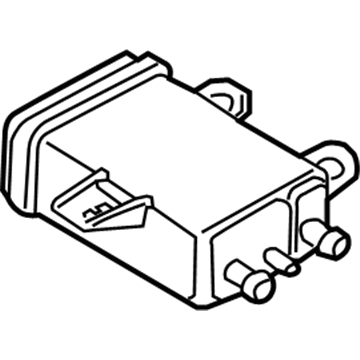
Mazda 6 Vapor Canister Part Number: L390-13-970B
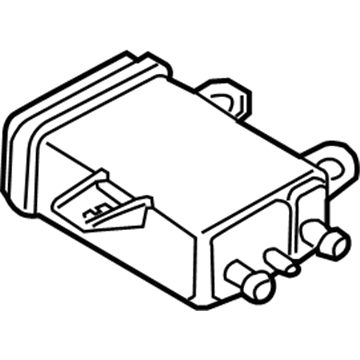
Mazda 6 Vapor Canister Part Number: L321-13-970A
Mazda 6 Vapor Canister
Looking for Vapor Canister with proven quality? Choose OEM Vapor Canister. Mazda designs and builds them to strict factory specs. Every piece goes through rigorous quality checks. You'll get parts that fit right and work like new. Shop our huge inventory of OEM Mazda 6 parts. Enjoy the highly competitive prices online. Our site is your one-stop shop. Each genuine 6 part includes a manufacturer's warranty. Buy with confidence. Our return policy is simple and hassle-free. In a rush? Choose expedited delivery at checkout. You'll love the streamlined experience from search to checkout to receiving your order.
Mazda 6 Vapor Canister Parts and Q&A
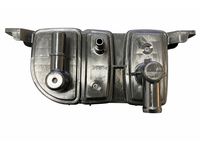
- Q:Where is the EVAP canister purge valve and Vapor Canister located and what are the steps for its removal and installation on Mazda 6?A:The location of the EVAP canister purge valve varies depending on the engine type of your vehicle. For instance, the four-cylinder model has the valve at the end of the cylinder head and the V6 models at the rear corner of the engine compartment. The 3.0L V6 model has the valve at the right rear corner while the 3.7L V6 one has the valve at the left rear corner. The first thing you should do is disconnect the cable from the negative battery terminal. For 2011 and earlier V6 models, the lower cowl trim panel needs to be removed, while for 2012 and later models the PCM also needs to be removed. Next, disconnect the electrical connector from canister purge valve and the EVAP line quick-connect fittings. Detach the purge valve along with the mounting bracket as one unit. Then, press the lock tab to slide the valve off the mounting bracket. Installation is the reverse of removal. To a/v canister, again disconnect the negative battery terminal cable, raise the vehicle securely on jackstands, then disconnect the electrical connector and vapor hose quick-connect fitting from the a/v canister vent solenoid. To disconnect the canister, disconnect the two EVAP line quick-connect fittings from it and remove the mounting fasteners securing it. The vent solenoid of the evaporative canister is mounted on the canister. To remove it, release the locking tabs and push the heat shield straight down. To remove the fuel vapor hose, loosen the hose clamp on the vent solenoid. To remove the vent solenoid and dust separator assembly from the canister, release the lock tab. Installation is the reverse of removal.
Related Mazda 6 Parts
 Mazda 6 Canister Purge Valve
 Mazda 6 EGR Valve
 Mazda 6 Exhaust Heat Shield
 Mazda 6 PCV Hose
 Mazda 6 PCV Valve
 Mazda 6 EGR Tube Gaskets
 Mazda 6 EGR Vacuum Solenoid
 Mazda 6 EGR Valve Gasket
 Mazda 6 Exhaust Hanger
 Mazda 6 Secondary Air Injection Check Valve
 Mazda 6 Vapor Canister Purge Solenoid
 Mazda 6 Vapor Pressure Sensor
Browse by Year
2021 Vapor Canister 2020 Vapor Canister 2019 Vapor Canister 2018 Vapor Canister 2017 Vapor Canister 2016 Vapor Canister 2015 Vapor Canister 2014 Vapor Canister 2013 Vapor Canister 2012 Vapor Canister 2011 Vapor Canister 2010 Vapor Canister 2009 Vapor Canister 2008 Vapor Canister 2007 Vapor Canister 2006 Vapor Canister 2005 Vapor Canister 2004 Vapor Canister 2003 Vapor Canister