My Garage
Cart

Genuine Mazda MX-5 Miata Cam Gear

Camshaft Gear
  • Select Vehicle by Model
  • Select Vehicle by VIN
Select Vehicle by Model
Make
Model
Year
or
Select Vehicle by VIN
For the most accurate results, select vehicle by your VIN (Vehicle Identification Number).

2 Cam Gears found
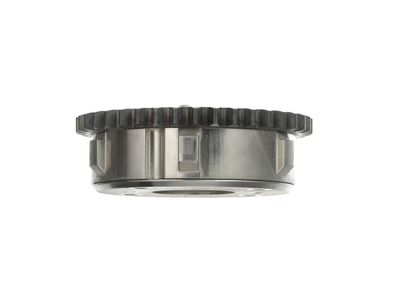
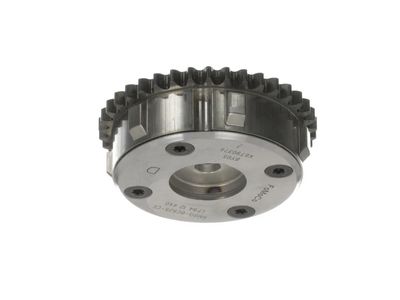
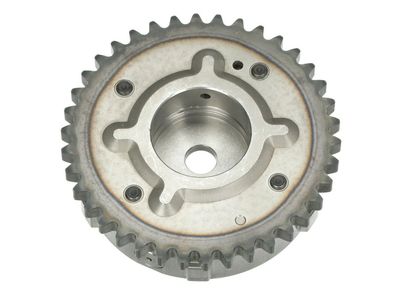
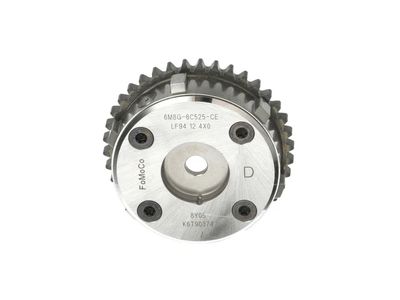
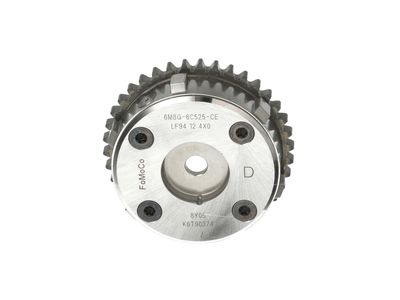
  • Diagram for Mazda MX-5 Miata Cam Gear - LF94-12-4X0D
    View related parts

    Mazda MX-5 Miata Actuator Part Number: LF94-12-4X0D

    $183.75 MSRP: $245.05
    You Save: $61.30 (26%)
    Ships in 1-2 Business Days
    ADD TO CART
    Product Specifications
    • Other Name: Actuator, Variable V. Timing; Camshaft Gear
    • Replaces: LF94-12-4X0B, LF94-12-42YA, LF94-12-42Y, LF94-12-4X0, LF94-12-4X0A, LF94-12-4X0C
    • Warranty: This genuine part is guaranteed by Mazda's factory warranty.
    Fits the following Vehicles:
    • 2006-2015 Mazda MX-5 Miata | 25th Anniversary Edition, Base, Club, Club Spec, Grand Touring, SV, Special Edition, Sport, Touring | 4 Cyl 2.0 L GAS
  • Mazda MX-5 Miata Cam Gear - LF01-12-425
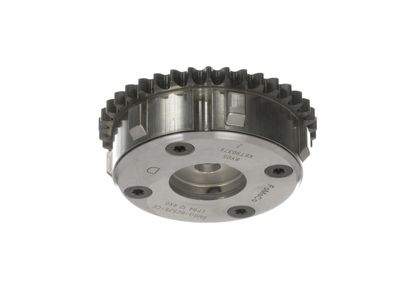
    Diagram for Mazda MX-5 Miata Cam Gear - LF01-12-425
    View related parts

    Mazda MX-5 Miata Timing Gear Part Number: LF01-12-425

    $21.50 MSRP: $28.67
    You Save: $7.17 (26%)
    Ships in 1-2 Business Days
    ADD TO CART
    Product Specifications
    • Other Name: Pulley, Camshaft; Camshaft Gear, Timing Gear Set
    • Replaces: LF21-12-425, LF01-12-42Y, 1F20-12-425
    • Warranty: This genuine part is guaranteed by Mazda's factory warranty.
    Fits the following Vehicles:
    • 2006-2015 Mazda MX-5 Miata | 25th Anniversary Edition, Base, Club, Club Spec, Grand Touring, SV, Special Edition, Sport, Touring | 4 Cyl 2.0 L GAS

Mazda MX-5 Miata Cam Gear

Looking for Cam Gear with proven quality? Choose OEM Cam Gear. Mazda designs and builds them to strict factory specs. Every piece goes through rigorous quality checks. You'll get parts that fit right and work like new. Shop our huge inventory of OEM Mazda MX-5 Miata parts. Enjoy the highly competitive prices online. Our site is your one-stop shop. Each genuine MX-5 Miata part includes a manufacturer's warranty. Buy with confidence. Our return policy is simple and hassle-free. In a rush? Choose expedited delivery at checkout. You'll love the streamlined experience from search to checkout to receiving your order.

Mazda MX-5 Miata Cam Gear Parts and Q&A

  • Q:
    What steps are crucial to avoid severe engine damage during the timing belt,Cam Gear and Crankshaft Timing Gear replacement on Mazda MX-5 Miata?
    A:
    This process is only available to 2005 and earlier models and it has a complex timing system such that excessive damage to the engine can be done in the event that there is an error; hence, one should be extremely skilled in this kind of repair, just in case of any doubts, it is best to leave it to the expert. The first step is the disconnection of negative battery cable and depleting of the cooling system, then the engine under cover shield and air intake duct are removed as the second step. Disassemble the upper radiator hose and the small coolant hoses of the thermostat housing, remove the power steering or air conditioning drive belt, and the alternator drive belt. Then take off the ignition coil assembly, spark plug wires plus spark plugs of all the cylinders, water pump pulley, and four crankshaft plate bolt to remove crankshaft pulley. Disassemble the Valve Cover, timing belt covers and position the crankshaft and camshaft sprocket timing marks by turning the crankshaft. Take out the center bolt of the crankshaft sprocket and pulley hub and make a holding tool if needed and mark the pulley and the timing belt in case of reuse. Before removing the timing belt, loosen the timing belt tensioner, cover it with a rag and pry it outwards. When necessary, prybars or screwdrivers should be used to take out the crankshaft sprocket and the camshaft sprockets balancing the camshaft not to move. Check the tensioner and idler pulley bearings, noting whether they operate smoothly and with no excessive play, and look in the timing belt area to determine whether there is debris or damage. Change the timing belt in case it is worn or damaged and rectify the problem that could have resulted in the failure. To install, wash the timing belt space, fit the tensioner and idler pulley should it be removed and the crankshaft sprocker Woodruff key must be in place. Make sure that the timing marks on the camshaft and crankshaft sprockets match each other, place the timing belt over the sprockets, and attach the crankshaft pulley hub and bolt. Rotate the crankshaft until the timing marks match, loosen the tensioner pulley bolt to install tension and ensure that timing marks are oriented properly after rotating the crankshaft. Ensure that there is tension on the timing belt and make adjustments where necessary and snap all parts removed back together in reverse order. Lastly, test the engine to ensure that it is functioning well, and the timing belt should be properly mounted to prevent severe damage to the engine.
  • Q:
    Is the Crankshaft Timing Gear,Cam Gear and Timing Chain procedure applicable on Mazda MX-5 Miata?
    A:
    This process can only be applicable to 2006 and above models. The timing mechanism is complicated, and in case of any error made, the engine can easily suffer serious damages and, as such, this kind of repair needs the highest level of experience. In case of doubt, it is advisable to seek the services of an expert. Start with heating the engine and emptying the engine oil. Take out the battery and battery tray, the air filter housing and the Valve Cover. With the drive belt still attached, loosen the water pump pulley bolts and idler pulley bolt then remove the drive belt and tensioner. The second step is to delete the water pump pulley and the bigger front engine under-cover. Before removing the CKP sensor, disconnect electrical connector on the Crankshaft Position (CKP) sensor, unclip the wiring harness and get it out of the way of the timing chain cover. Take off the cylinder block lower blind plug on the right hand side of the engine and screw the special timing pin into the hole. Start rotating the crankshaft clockwise till it stops to align the No. 1 cylinder to TDC. Secure the crankshaft pulley, loosening the crank pulley bolt and scrape the crankshaft pulley off. The timing pin is designed to freeze the crankshaft at TDC and not to freeze it and then loosen the crank pulley bolt. Before installing the crankshaft pulley back in place, do not take out the timing pin, and do not turn the crankshaft with the pin in place. Take out the cover bolts and the cover. Should camshaft sprockets have to be removed then loosen sprocket bolts. Timing chain tensioner is to be carefully compressed and a pin fixed. Disconnect the tensioner and the timing chain guides, right and left and proceed to remove the timing chain. Clean everything and check the chain tensioner, guides and timing chain of undue wear and tear. When rotating the crankshaft with your hands, it is important to ensure that you do not less than 2 full revolutions before your engine starts to rotate. In case the ratchet on the timing chain tensioner has to be reset then follow the relevant steps. Installation of timing chain tensioner and tightening of the mounting bolts is required without loosening the pin. Install left and right chain guides and make sure they are properly placed. In case camshaft sprockets were not taken off, place them back on and connect the bolts. Install the cams shanking bolts then insert the cams using camshaft alignment tool. Take out the pin in order to relieve the tensioner, making sure that it pulls against the right chain guide. Wipe the mating surfaces of the timing chain cover, replace the front Crankshaft Seal and put a coat of RTV sealant on the mating surfaces then fit the cover. Screw up the timing cover bolts in a slow and steady manner. Apply a little of clean engine oil to the front seal of the crankshaft and install the crankshaft pulley and hand tighten the new bolt. Fit the crank pulley with the timing chain cover and fit a crankshaft pulley alignment bolt. Tight up the crankshaft pulley bolt and ensure that the camshafts are in the right position by the use of the camshaft alignment tool. The engine starts at the right time with all the alignment tools. After verification, pull away crankshaft pulley holding tool, alignment bolt and timing pin and make two full revolutions of the engine. Check timing again then install CKP sensor. The rest of the installation is in the opposite sequence of the removal.

Related Mazda MX-5 Miata Parts