×
- Hello
- Login or Register
- Quick Links
- Live Chat
- Track Order
- Parts Availability
- RMA
- Help Center
- Contact Us
- Shop for
- Mazda Parts

My Garage
My Account
Cart
Genuine Mazda Tribute Air Intake Hose
Engine Air Intake Hoses- Select Vehicle by Model
- Select Vehicle by VIN
Select Vehicle by Model
orMake
Model
Year
Select Vehicle by VIN
For the most accurate results, select vehicle by your VIN (Vehicle Identification Number).
13 Air Intake Hoses found
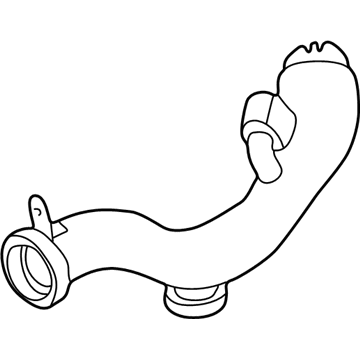
Mazda Tribute Inlet Tube Part Number: ZZC1-13-201A
$17.30 MSRP: $23.08You Save: $5.78 (26%)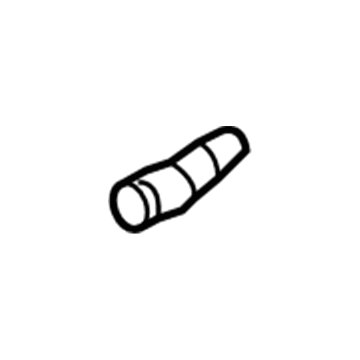
Mazda Tribute Connector Part Number: ZZC4-13-103
$23.41 MSRP: $31.23You Save: $7.82 (26%)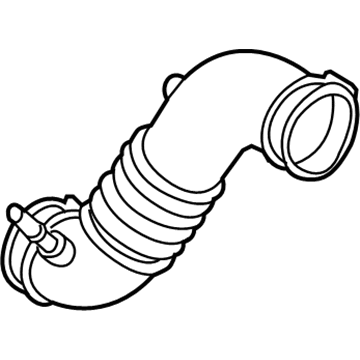
Mazda Tribute Air Outlet Tube Part Number: L3H6-13-03X
$45.08 MSRP: $60.11You Save: $15.03 (25%)Ships in 1-2 Business Days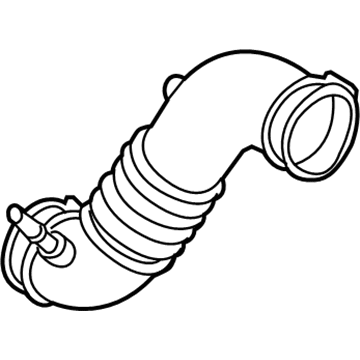
Mazda Tribute Air Outlet Tube Part Number: L3H5-13-03X
$50.74 MSRP: $67.67You Save: $16.93 (26%)Ships in 1-2 Business Days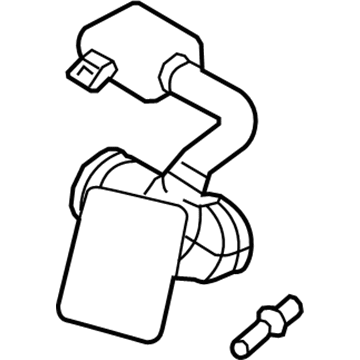
Mazda Tribute Air Inlet Pipe Part Number: ZZEA-13-230
$63.19 MSRP: $84.27You Save: $21.08 (26%)Ships in 1-2 Business Days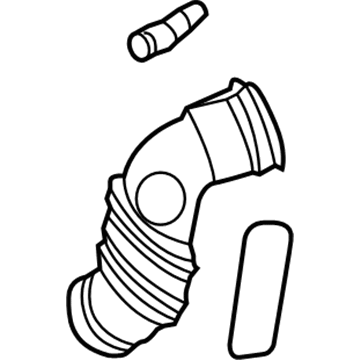
Mazda Tribute Air Outlet Tube Part Number: ZZCA-13-230
$63.80 MSRP: $85.08You Save: $21.28 (26%)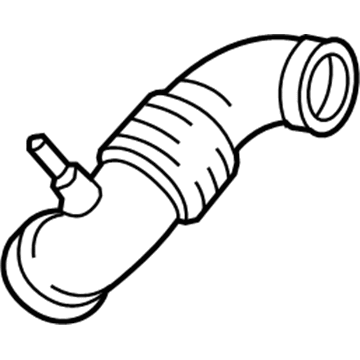
Mazda Tribute Air Inlet Pipe Part Number: ZZC3-13-230A
$10.77 MSRP: $14.14You Save: $3.37 (24%)Ships in 1-2 Business Days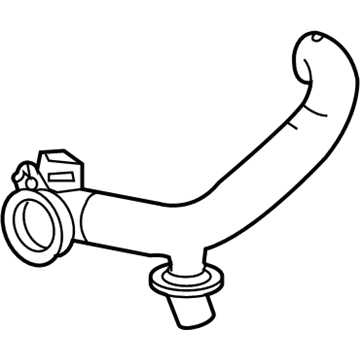
Mazda Tribute Air Inlet Duct Part Number: ZZCA-13-201
Mazda Tribute Air Inlet Pipe Part Number: ZZC5-13-230
Mazda Tribute Air Outlet Tube Part Number: ZZC1-13-230
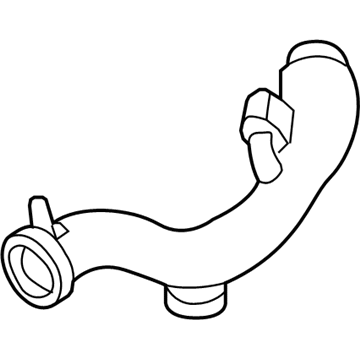
Mazda Tribute Air Inlet Duct Part Number: ZZC0-13-201
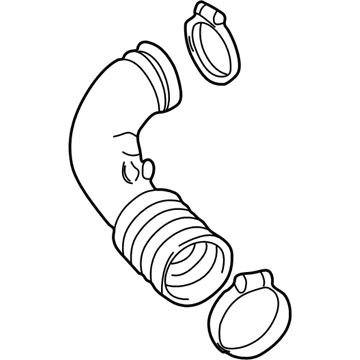
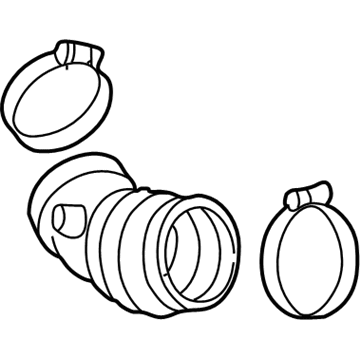
Mazda Tribute Outlet Tube Part Number: YF09-13-03XC
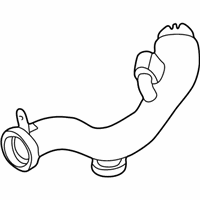
Mazda Tribute Outlet Tube Part Number: AJ03-13-221A
Mazda Tribute Air Intake Hose
Looking for Air Intake Hose with proven quality? Choose OEM Air Intake Hose. Mazda designs and builds them to strict factory specs. Every piece goes through rigorous quality checks. You'll get parts that fit right and work like new. Shop our huge inventory of OEM Mazda Tribute parts. Enjoy the highly competitive prices online. Our site is your one-stop shop. Each genuine Tribute part includes a manufacturer's warranty. Buy with confidence. Our return policy is simple and hassle-free. In a rush? Choose expedited delivery at checkout. You'll love the streamlined experience from search to checkout to receiving your order.
Mazda Tribute Air Intake Hose Parts and Q&A
- Q:How to disconnect and replace the Air Intake Hose,PCV Valve and PCV hose on Mazda Tribute?A:In case of four-cylinder models, disconnect the fresh air inlet hose from the air intake duct assembly and remove the air intake duct assembly. Next, disconnect the fresh air inlet hose from the pipe located at the left rear corner of the valve cover, clean and inspect the hose for damage, and replace if necessary. Lastly, look for wear in the grommet in the air intake duct. Install using the reverse order. At the upper left side of the crankcase vent oil separator, the PCV valve has a vent hose that routes to the intake manifold, disconnect it from the valve and the manifold. Clean out the PCV hose and inspect for damage. To install, follow the reverse procedure of removal." The crankcase vent oil separator for 2012 and earlier models is located on the front side of the engine block. To access it, remove the Catalytic Converter and exhaust manifold. Then, disconnect the PCV hose and remove the separator. Clean the separator and install a new gasket. For the 2013 and newer models, take off the intake manifold, loosen the hose clip if necessary, and then unbolt the oil separator from the engine block. For V6 models, you must first remove the fresh air inlet hose from the front valve cover and rear valve cover, and also from the air intake duct. Then, installation is the reverse order of removal. Disconnect the PCV hose from the PCV valve and intake manifold, remembering its routing before removal. To remove the PCV valve on 2004 and earlier models, you need to disconnect the hose and unscrew it from the crankcase vent oil separator. For 2005 through 2012 models, disconnect the quick-connect coupling and wiring if equipped, then turn the valve counterclockwise for removal and discard the old valve. To remove the crankcase vent oil separator on 2004 and earlier models, remove the intake manifold, disconnect the PCV hose, and the front cylinder head. Also, remove the separator and clean it thoroughly and use a new gasket.
Related Mazda Tribute Parts
 Mazda Tribute Accelerator Cable
 Mazda Tribute Air Filter
 Mazda Tribute Throttle Body
 Mazda Tribute Throttle Cable
 Mazda Tribute Air Duct
 Mazda Tribute Air Filter Box
 Mazda Tribute Fuel Injector
 Mazda Tribute Fuel Level Sensor
 Mazda Tribute Fuel Pressure Sensor
 Mazda Tribute Fuel Pump Gasket
 Mazda Tribute Fuel Rail
 Mazda Tribute Intake Manifold Gasket