×
- Hello
- Login or Register
- Quick Links
- Live Chat
- Track Order
- Parts Availability
- RMA
- Help Center
- Contact Us
- Shop for
- Mazda Parts

My Garage
My Account
Cart
Genuine Mazda 6 Dash Panel
Dashboard- Select Vehicle by Model
- Select Vehicle by VIN
Select Vehicle by Model
orMake
Model
Year
Select Vehicle by VIN
For the most accurate results, select vehicle by your VIN (Vehicle Identification Number).
5 Dash Panels found
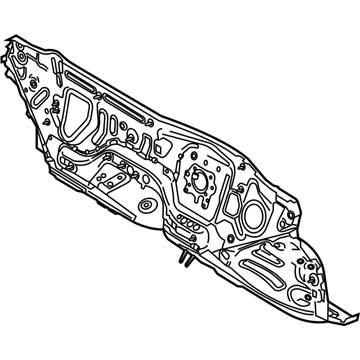
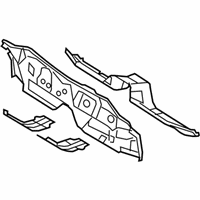
Mazda 6 Dash Panel Part Number: GHR4-53-400F
$365.35 MSRP: $487.22You Save: $121.87 (26%)Ships in 1-2 Business Days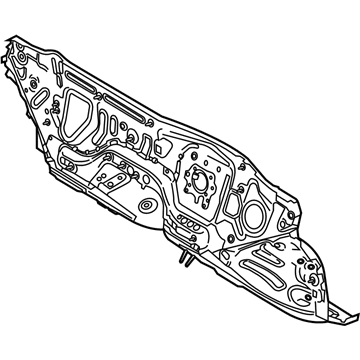
Mazda 6 Dash Panel Part Number: GRF9-53-400A
$402.00 MSRP: $540.43You Save: $138.43 (26%)Ships in 1-2 Business DaysMazda 6 Dash Panel Part Number: GRF6-53-400B
$411.57 MSRP: $553.29You Save: $141.72 (26%)Ships in 1-2 Business DaysMazda 6 Dash Panel Part Number: GRF9-53-400B
$439.79 MSRP: $591.23You Save: $151.44 (26%)Ships in 1-2 Business Days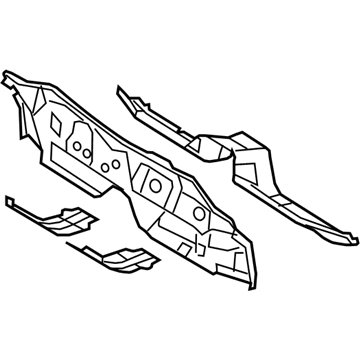
Mazda 6 Lower Dash Panel Part Number: GS3L-53-400C
Mazda 6 Dash Panel
The Mazda Dash Panel is the primary surface of a vehicle's interior that faces the driver. The dash contains the controls, switches, presence displays, and ventilation outlets necessary to drive the vehicle. The Dash Panel will also contain the driver's primary instrumentation for monitoring different systems within the vehicle. The panel, which is located right in front of the passengers, contains the speedometer, engine gauges, and other gauges, has openings for dash vents that deliver air conditioning air from the HVAC system, and has space for other entertainment equipment like a radio or DVD player to keep them handy. Repeated exposure to sunlight, oils from hands, and small items stored in the cabin can lead to cracks, scratches, dents, and color fading that impact the cabin image and may lower overall vehicle appeal. When damage occurs, the affected area may require cleaning of the surface, bonding with glue, leveling of the surface, filling, sanding smooth, and then refinishing by spray with careful application so that the area matches with the surrounding surface including the structure of the Dash Panel and its color. In the masking of areas that remain intact, overspray is prevented. Progressive sanding starts with a coarse grade and finishes with a finer and finer grade. Finally, a protectant is added to ensure this surface remains intact. As the occupants see this assembly on each and every drive, keeping it looking smooth and unblemished helps with interior quality and comfort. All models of the Mazda 6 include the component in question. Mazda stresses using reliable goods when a restoration of their interior goes awry. By maintaining the Dash Panel free from visible defects, the owner helps keep the Mazda 6 cabin inviting.
Looking for Dash Panel with proven quality? Choose OEM Dash Panel. Mazda designs and builds them to strict factory specs. Every piece goes through rigorous quality checks. You'll get parts that fit right and work like new. Shop our huge inventory of OEM Mazda 6 parts. Enjoy the highly competitive prices online. Our site is your one-stop shop. Each genuine 6 part includes a manufacturer's warranty. Buy with confidence. Our return policy is simple and hassle-free. In a rush? Choose expedited delivery at checkout. You'll love the streamlined experience from search to checkout to receiving your order.
Mazda 6 Dash Panel Parts and Q&A
- Q:How to remove the dash panel and disconnect the cable from the negative battery terminal to access electrical components on Mazda 6?A:Disconnect the cable from the negative battery terminal. Removing various dash panels provides access to electrical and electronic components such as the Instrument Cluster, audio unit, heater and air conditioning control unit, and various instrument panel-mounted switches. To remove the entire instrument panel, all of the dash panels must be removed to access the instrument panel mounting bolts. Carefully pry off the left or right dash end trim panel, and installation is the reverse of removal. For the instrument cluster trim panel, remove the Steering Column Covers, and on later models, remove the knee bolster trim panel. On earlier models, remove the instrument cluster trim panel mounting screws, then pull the cluster trim panel to the rear to disengage the two retaining clips located at the lower corners. Ensure that the two lower retaining clips snap into place before installing the two upper screws during reinstallation. To detach the instrument cluster hood panel from its mounting clips, work your way around the outside of the hood panel, carefully prying loose the clips with a suitable trim removal tool, then pull the panel forward to disconnect the rubber strip to the upper steering column cover. For the center trim panel on earlier models, remove the glove box, Center Console, and center trim panel mounting screws, then remove the A/C and heater unit dials and the mounting screws, followed by the retaining bolt from each side of the unit. Carefully pry around the edges of the center panel and pull it out, disconnecting the electrical connectors from the radio and the heater and air conditioning control unit. For later models, note that the center trim panel and center console outer panel are one piece, and be sure to pry all the clips up around the perimeter before attempting removal. For the upper trim panel, carefully pry around the edges to disengage the clips, then pull the center panel forward to disconnect the center speaker, hazard switch, and information display connectors. For the lower trim panel, remove the upper trim panel, shift knob, and console shift indicator panel, then carefully pry the panel forward to disengage the clips and remove it, disconnecting any electrical connectors. For the upper storage bin on earlier models, remove the center trim panel, then remove the upper storage bin retaining screws, disengage the storage bin mounting clips, and remove the upper storage bin. For the knee bolster trim panel and knee bolster on later models, remove the weather strip sill panel and kick panel, then remove the instrument cluster hood panel, hood release lever, and screws from the panel, carefully prying it to disengage the clips. Remove the fasteners securing the knee bolster, with installation being the reverse of removal. For the glove box on earlier models, disengage the damper clip, grasp the hinge areas, push in to disengage the hinge pins, and remove the glove box, with installation being the reverse of removal. For later models, open the glove box, squeeze the strut locking tabs together, slide the strut off, squeeze the glove box stops in, and allow it to come down enough to disengage it from the lower panel before removal, with installation being the reverse of removal.