×
- Hello
- Login or Register
- Quick Links
- Live Chat
- Track Order
- Parts Availability
- RMA
- Help Center
- Contact Us
- Shop for
- Mazda Parts

My Garage
My Account
Cart
Genuine Mazda MPV Brake Rotor
Disc Rotor- Select Vehicle by Model
- Select Vehicle by VIN
Select Vehicle by Model
orMake
Model
Year
Select Vehicle by VIN
For the most accurate results, select vehicle by your VIN (Vehicle Identification Number).
8 Brake Rotors found
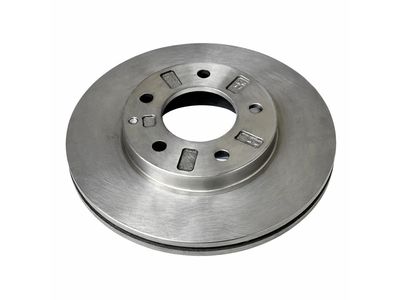
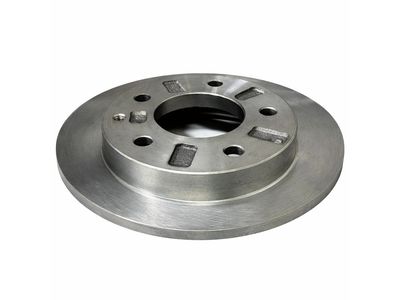
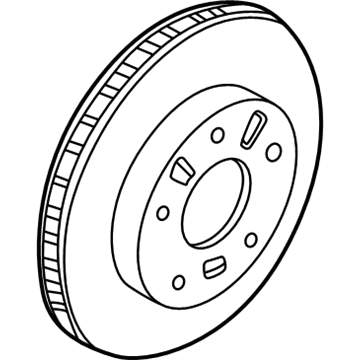
Mazda MPV Rotor Part Number: T002-33-25XA
$96.15 MSRP: $128.23You Save: $32.08 (26%)Ships in 1-2 Business Days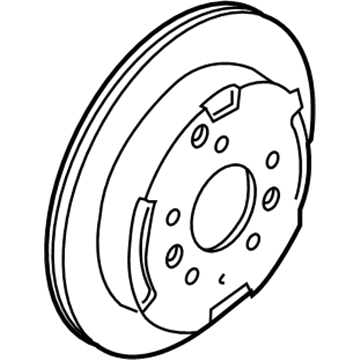
Mazda MPV Rotor Part Number: L15Y-26-251
$96.24 MSRP: $128.34You Save: $32.10 (26%)Ships in 1-2 Business Days
Mazda MPV Rotor Part Number: L003-33-25X
$89.86 MSRP: $119.84You Save: $29.98 (26%)Ships in 1-2 Business Days
Mazda MPV Rotor Part Number: L001-33-251
$10.11 MSRP: $13.27You Save: $3.16 (24%)Ships in 1-2 Business Days
Mazda MPV Rotor Part Number: J001-26-251D
$64.45 MSRP: $84.60You Save: $20.15 (24%)Ships in 1-2 Business Days
Mazda MPV Rotor Part Number: LB82-33-25XA
Mazda MPV Rotor Part Number: L011-33-25X
Mazda MPV Rotor Part Number: J002-26-251A
Mazda MPV Brake Rotor
Looking for Brake Rotor with proven quality? Choose OEM Brake Rotor. Mazda designs and builds them to strict factory specs. Every piece goes through rigorous quality checks. You'll get parts that fit right and work like new. Shop our huge inventory of OEM Mazda MPV parts. Enjoy the highly competitive prices online. Our site is your one-stop shop. Each genuine MPV part includes a manufacturer's warranty. Buy with confidence. Our return policy is simple and hassle-free. In a rush? Choose expedited delivery at checkout. You'll love the streamlined experience from search to checkout to receiving your order.
Mazda MPV Brake Rotor Parts and Q&A
- Q:How to properly remove and install Brake Rotor on Mazda MPV?A:Unscrew the lug nuts of the wheel, lift it up and hold it firmly in jackstands after which you remove the wheel(s). Unscrew the Brake Caliper and pull the Brake Pads out, but leave the brake hose connected to the caliper and hang the caliper away out of the way using a piece of wire, take care that the caliper does not hang by the hose or get stretched or twisted. A vehicle should not be placed in normal service before the brakes have been checked carefully. Look with naked eye at the rotor surface to identify score marks and damage, though small scratches and shallow grooves are normal, deep score marks exceeding 0.015-inch must be removed and refinished. Inspection Check both sides of the rotor, and in case it pulsates during braking, suspect rotor runout and examine the wheel bearings as being worn. To verify runout of the rotor, a dial indicator used, approximately 1/2-inch in position on the outer diameter of the rotor, zeroed, and the rotor turned; when the indication gets beyond the stop limit, the rotor needs to be machined or replaced. Brake Rotors should be resurfaced to remove brake pedal pulsation and otherwise, brod off the glazing of the brake rotor with swirling motion of sandpaper or emery cloth. Make sure that the rotor is not machined any thinner than the lowest possible thickness, which is cast into the central part of the rotor, and determine the thickness using a micrometer at a number of points close to the edge. Unbolt the front brake caliper mount on the steering knuckle, unscrew the retaining screws and unscrew the rotor which is a tight fit perhaps requiring an impact screwdriver. Installation: The opposite of removal is tightening the caliper mount bolts and caliper lock bolts to the required torque and also the wheel lug nuts. Press the brake pedal several times to close the brakes pads on the rotor, and test the brakes and ensure they are functioning properly before putting the vehicle into regular use.
Related Mazda MPV Parts
 Mazda MPV Brake Pads
 Mazda MPV ABS Control Module
 Mazda MPV Axle Shaft Seal
 Mazda MPV Brake Booster Vacuum Hose
 Mazda MPV Brake Caliper Bolt
 Mazda MPV Brake Caliper Bracket
 Mazda MPV Brake Line
 Mazda MPV Brake Shoe Set
 Mazda MPV Hydraulic Hose
 Mazda MPV Spindle Nut
 Mazda MPV Wheel Cylinder
 Mazda MPV Wheel Hub Bolt