×
- Hello
- Login or Register
- Quick Links
- Live Chat
- Track Order
- Parts Availability
- RMA
- Help Center
- Contact Us
- Shop for
- Mazda Parts

My Garage
My Account
Cart
Genuine Mazda Instrument Cluster
Speedometer Instrument Cluster- Select Vehicle by Model
- Select Vehicle by VIN
Select Vehicle by Model
orMake
Model
Year
Select Vehicle by VIN
For the most accurate results, select vehicle by your VIN (Vehicle Identification Number).
530 Instrument Clusters found
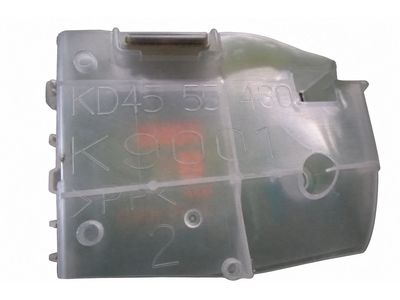
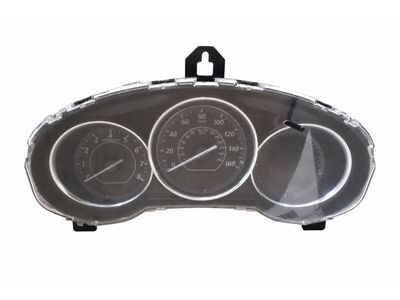
Mazda Instrument Cluster Part Number: GJR9-55-471D
$690.20 MSRP: $943.09You Save: $252.89 (27%)Ships in 1-2 Business DaysProduct Specifications- Other Name: Speedometer; Cluster Assembly
- Replaces: GJR9-55-471C
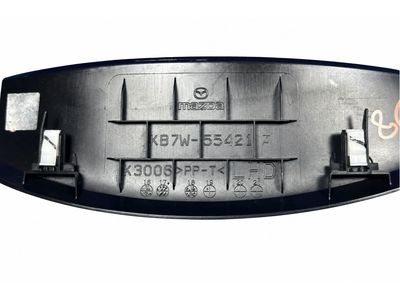
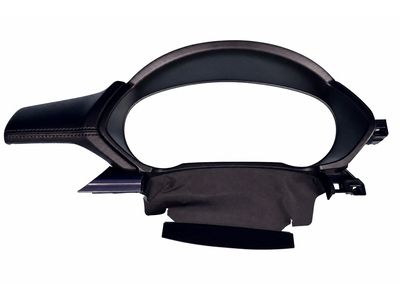
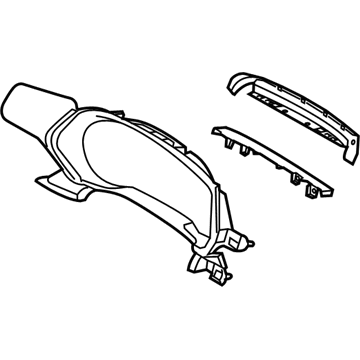
Mazda Cluster Bezel Part Number: KB7W-55-420A-02
$149.60 MSRP: $199.50You Save: $49.90 (26%)Ships in 1-2 Business DaysProduct Specifications- Other Name: Hood, Meter
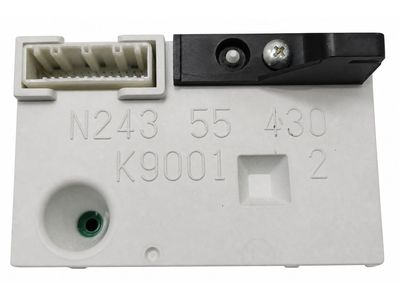
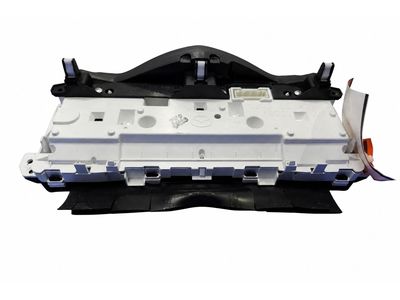
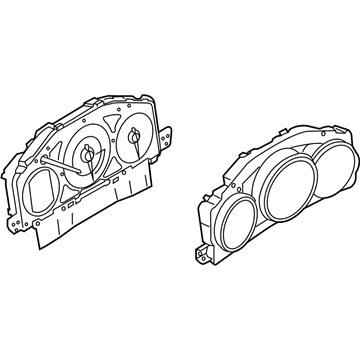
Mazda Instrument Cluster Part Number: NA1J-55-471D
$856.34 MSRP: $1170.10You Save: $313.76 (27%)Ships in 1-2 Business DaysProduct Specifications- Other Name: Speedometer
- Replaces: NA1J-55-471C, NA1J-55-471B
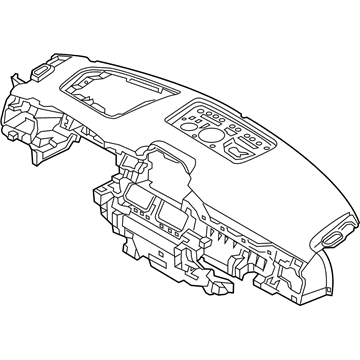
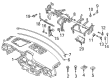
Mazda Panel, Instrument Part Number: KB7W-60-330E-02
$548.56 MSRP: $737.47You Save: $188.91 (26%)Ships in 1-2 Business DaysProduct Specifications- Other Name: PANEL,INSTRUMENT; Instrument Panel
- Replaces: KB7W-60-330D-02, KB7W-60-330-02
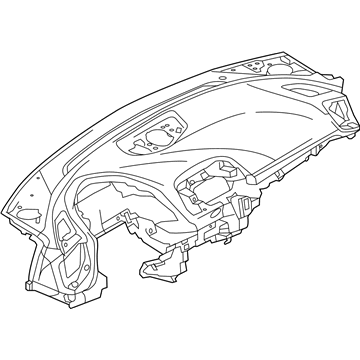
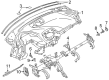
Mazda Instrument Panel Part Number: BHN1-60-350-02
$496.46 MSRP: $667.41You Save: $170.95 (26%)Ships in 1-2 Business DaysProduct Specifications- Other Name: Pad, Crash
- Replaces: BJS7-60-350A-02, BJS7-60-350-02
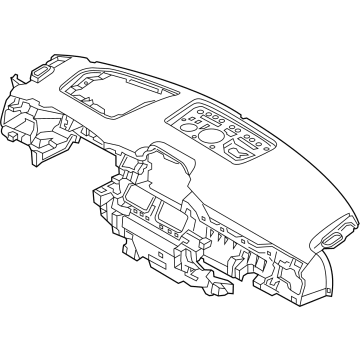
Mazda Instrument Panel Part Number: VA41-60-350D-02
$438.80 MSRP: $589.90You Save: $151.10 (26%)Ships in 1-2 Business DaysProduct Specifications- Other Name: Pad, Crash
- Replaces: VA41-60-350C-02, VA41-60-350B-02
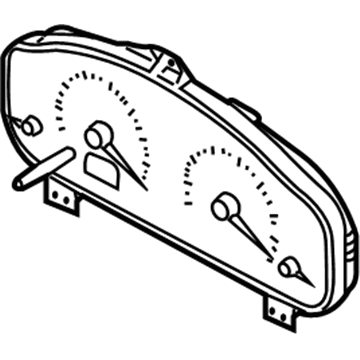
Mazda Instrument Cluster Part Number: CC46-55-471A
$98.18 MSRP: $738.39You Save: $640.21 (87%)Ships in 1-2 Business DaysProduct Specifications- Other Name: Speedometer; Gauge Cluster
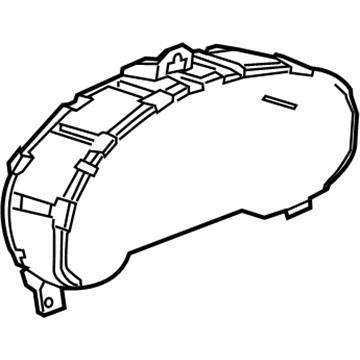
Mazda Instrument Cluster Part Number: KR24-55-471C
$680.80 MSRP: $930.23You Save: $249.43 (27%)Ships in 1-2 Business DaysProduct Specifications- Other Name: Speedometer; Cluster Assembly
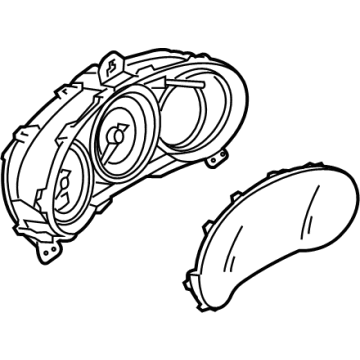
Mazda Cluster Assembly Part Number: TK80-55-430E
$870.37 MSRP: $1189.28You Save: $318.91 (27%)Ships in 1-2 Business DaysProduct Specifications- Other Name: Meter Set
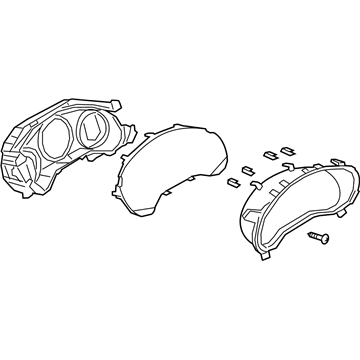
Mazda Cluster Part Number: BFWM-55-430
$1306.16 MSRP: $1784.73You Save: $478.57 (27%)Ships in 1-2 Business DaysProduct Specifications- Other Name: Meter Set; Instrument Cluster
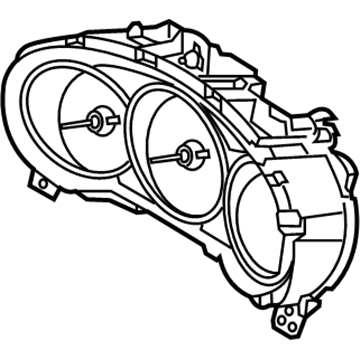
Mazda Instrument Cluster Part Number: KC9E-55-430B
$1372.05 MSRP: $1874.76You Save: $502.71 (27%)Ships in 1-2 Business DaysProduct Specifications- Other Name: Meter Set; Cluster Assembly
- Replaces: KC9E-55-430A, KC9E-55-430
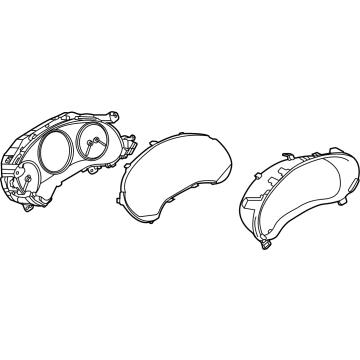
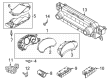
Mazda Cluster Part Number: DEKK-55-430
$1661.44 MSRP: $2270.19You Save: $608.75 (27%)Ships in 1-2 Business DaysProduct Specifications- Other Name: Meter Set; Cluster Assembly, Instrument Cluster
- Replaces: BGCE-55-430
Mazda Cluster Assembly Part Number: GRT9-55-471C
$552.37 MSRP: $742.59You Save: $190.22 (26%)Ships in 1-2 Business DaysProduct Specifications- Other Name: Speedometer
- Replaces: GRT9-55-471B
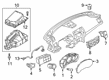
Mazda Instrument Cluster Part Number: GBKF-55-471C
$577.05 MSRP: $775.76You Save: $198.71 (26%)Ships in 1-2 Business DaysProduct Specifications- Other Name: Speedometer; Cluster Assembly
- Replaces: GBKF-55-471B, GBKF-55-471, GBKF-55-471A
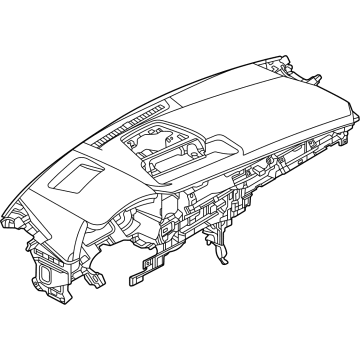
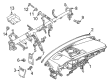
Mazda Pad, Crash Part Number: DGH9-60-350B-02
$606.26 MSRP: $815.03You Save: $208.77 (26%)Ships in 1-2 Business DaysProduct Specifications- Other Name: PAD,CRASH; Instrument Panel
- Replaces: DGH9-60-350A-02, DGH9-60-350-02
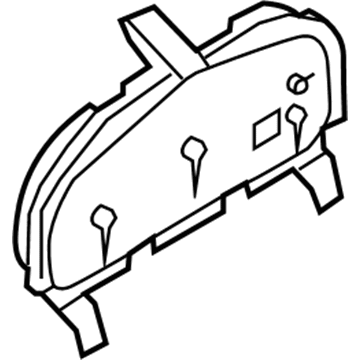
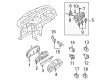
Mazda Speedometer Part Number: BAS1-55-471A
$678.53 MSRP: $927.14You Save: $248.61 (27%)Ships in 1-2 Business DaysProduct Specifications- Other Name: Instrument Cluster
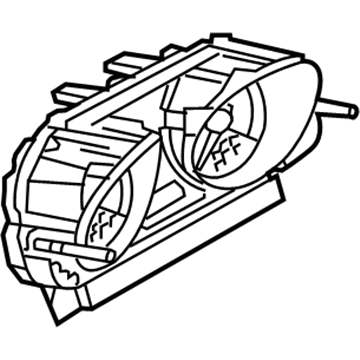
Mazda Speedometer Part Number: BHB2-55-471B
$718.51 MSRP: $981.77You Save: $263.26 (27%)Ships in 1-2 Business DaysProduct Specifications- Other Name: Instrument Cluster
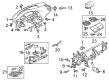
Mazda Instrument Panel Part Number: BBY4-60-400-02
$321.09 MSRP: $428.20You Save: $107.11 (26%)Ships in 1-2 Business DaysProduct Specifications- Other Name: Panel, Instrument
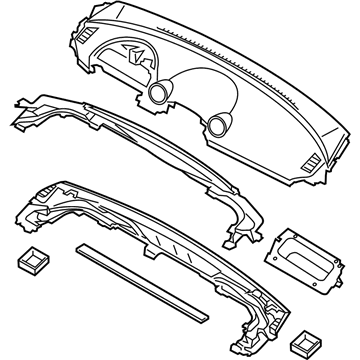
Mazda Instrument Panel Part Number: DR61-60-400B-02
$396.25 MSRP: $532.70You Save: $136.45 (26%)Ships in 1-2 Business DaysProduct Specifications- Other Name: Panel, Instrument
- Replaces: DR61-60-400-02

Mazda Plate Part Number: BP4L-55-446
$25.83 MSRP: $198.70You Save: $172.87 (87%)Ships in 1-2 Business DaysProduct Specifications- Other Name: Plate, Window
| Page 1 of 27 |Next >
1-20 of 530 Results
Mazda Instrument Cluster
Mazda Instrument Cluster provides immediate, easy-to-read driving data so the driver can keep the eyes on the road and remain confident in every drive. Mazda started producing vehicles in 1931 and gained worldwide acclaim for its smooth rotary engine that later introduced efficiency with Skyactiv powertrains that get more mileage from every drop of fuel while keeping the ride fun and lively. The brand's Kodo design captures eyes with flowing lines that suggest motion even when stopped and i-Activsense safety features such as radar cruise and lane keeping assist provide a reassuring extra layer of awareness. Mazda also drives ahead with electric and mild hybrid options and perfects i-Activ AWD for secure grip on rough roads, proving its commitment to innovation and driving joy. The Instrument Cluster is mounted directly behind the steering wheel so that the speedometer, tachometer, fuel gauge, and warning icons are in the natural field of view so that information comes with a quick glance. Earlier versions utilized good old fashioned analog needles, whereas the more contemporary layouts combine crisp digital screens with good old fashioned dials, pairing clarity with style across the entire Mazda range. Bright backgrounds, anti-glare surfaces, and logical placement of figures make it easier for teens and adults alike to read stats day or night, and timely alerts on temperature, seat belts, or airbags allow the driver to take action before small problems become big ones. Every Mazda owner is the beneficiary of this smart, intuitive Instrument Cluster that translates complex vehicle feedback into simple guidance.
You'll get great performance and real durability when you pick genuine OEM Instrument Cluster. Mazda builds these using high-quality materials and official factory methods to ensure they hold up mile after mile. You deserve that Mazda reliability without the headache of cheap knockoffs. It is easy to find exactly what you need in our huge inventory of genuine parts. Plus, every OEM part carries a real manufacturer's warranty for your peace of mind. You will love our low prices too. Order today and we will ship your brand-new parts fast. They often reach your door in just a few days.
Mazda Instrument Cluster Parts and Q&A
- Q: How can each gauge be removed and reinstalled after taking out the instrument cluster on Mazda B2200?A:Individual gauges are removable once the instrument cluster has been removed. Start with removing the negative battery cable and taking out the instrument cluster assembly and the lens out of the assembly. Assuming that the gauge was mounted on mounting screws, remove the mounting screws and remove the gauge out of the cluster. To install, simply force the gauge in place and use mounting screws as necessary. Lastly, put the cluster lens in place and the cluster back into the instrument panel.
- Q: How to remove and install the instrument cluster on Mazda 3?A:Disconnect the cable from the negative battery terminal. Release the tit wheel lever and lower the steering wheel to its lowest position. Remove the instrument cluster trim panel; for 2010 and later models, the instrument cluster cover is attached to the rear of the cluster and must be removed after the cluster has been taken out. Remove the instrument cluster mounting screws. Carefully pull out the instrument cluster from the instrument panel and disconnect the electrical connectors. Once the cluster is removed, set it down on the back side with the gauge side facing up to prevent grease in the meters from leaking out and staining the face of the gauges. Installation is the reverse of removal.

Related Mazda Parts
 Mazda Center Console
 Mazda Door Lock
 Mazda Mirror Cover
 Mazda Window Regulator
 Mazda Seat Cushion
 Mazda Air Deflector
 Mazda Brake Master Cylinder Reservoir
 Mazda Dash Panel Vent Portion Covers
 Mazda Door Hinge
 Mazda Exterior Door Handle
 Mazda Lift Support
 Mazda Weather Strip
Browse by Model
2 Instrument Cluster 3 Instrument Cluster 323 Instrument Cluster 5 Instrument Cluster 6 Instrument Cluster 626 Instrument Cluster 929 Instrument Cluster B2000 Instrument Cluster B2200 Instrument Cluster B2300 Instrument Cluster B2500 Instrument Cluster B2600 Instrument Cluster B3000 Instrument Cluster B4000 Instrument Cluster CX-3 Instrument Cluster CX-30 Instrument Cluster CX-5 Instrument Cluster CX-50 Instrument Cluster CX-7 Instrument Cluster CX-70 Instrument Cluster CX-9 Instrument Cluster CX-90 Instrument Cluster Miata Instrument Cluster Millenia Instrument Cluster MPV Instrument Cluster MX-3 Instrument Cluster MX-30 EV Instrument Cluster MX-5 Miata Instrument Cluster MX-6 Instrument Cluster Protege Instrument Cluster Protege5 Instrument Cluster RX-7 Instrument Cluster RX-8 Instrument Cluster Tribute Instrument Cluster